Tonie Unicorn Shelf
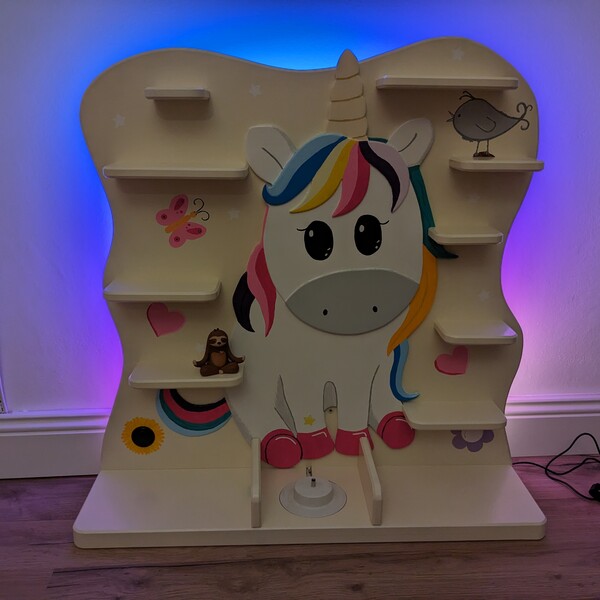
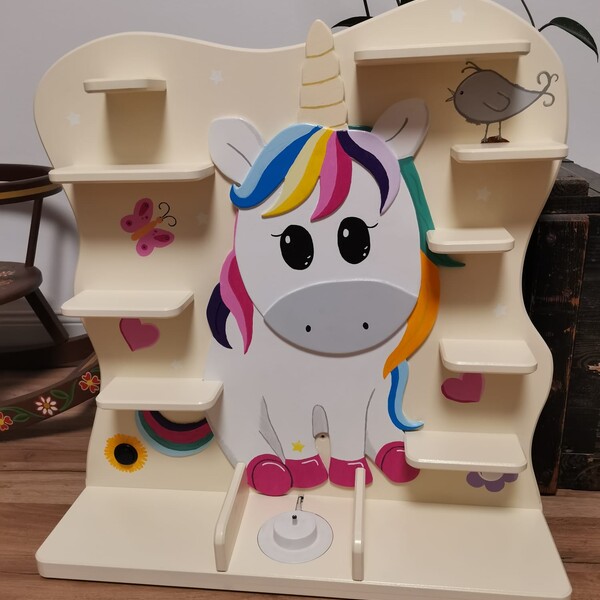
A few weeks ago, Kaddi and I finished building a Tonie shelf.
Tonies?
So, what are Tonies? If you're around my age you probably grew up with a cassette player and various children's tapes. They were relatively cheap and kept the kids occupied for an hour or so. Even young children quickly learned how to use cassette tapes and players.
Tonies promise to bring this experience into the modern world. The Tonie Box is basically a Wi-Fi enabled, battery powered MP3 Player. It's wrapped in soft fabric, relatively indestructible and has basically no user interface (volume is controlled by the “ears”). To select what to play, you put a Tonie figurine on top. Remove the figurine to stop playing. Simple enough for a toddler to use.
Of course all of this is totally proprietary. The Tonie figurines are quite expensive when compared to their old cassette counter parts. The NFC chip in their base tells the player what content to download from the Tonie servers. You can buy “blank” Tonies to upload your own content, but you can't use your own NFC tags.
Of course most parents of young children do not have the capacity to research and build their own DIY version, so Tonies are quite successful despite being the rip-off they are.
So unsurprisingly, Kaddi's brother and his wife bought a Tonie for their little girl.
Building the Shelf
There's all kinds of accessories for Tonies but shelves for the figurines seem to be the most popular. And Kaddi wanted to build one for her niece and asked me to help. Of course I said yes, even though I would have preferred to build an entire DIY Tonie box.
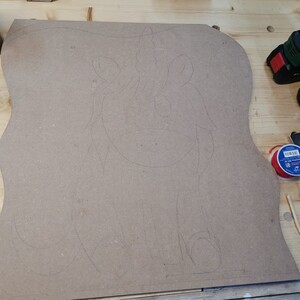
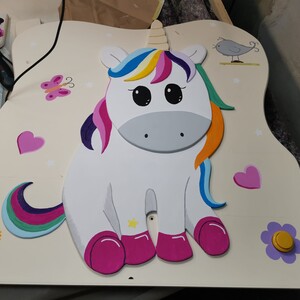
Kaddi got inspired by a commercially available shelf and drew up a sketch for a unicorn shelf. For material we chose MDF because it should paint well.
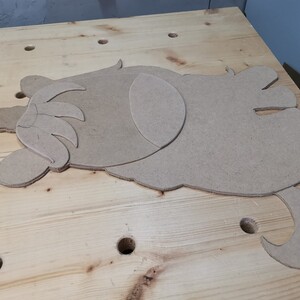
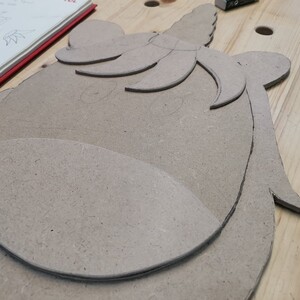
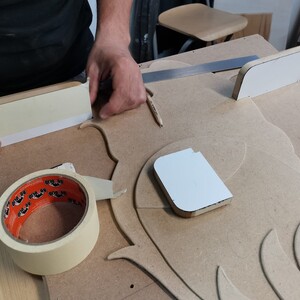
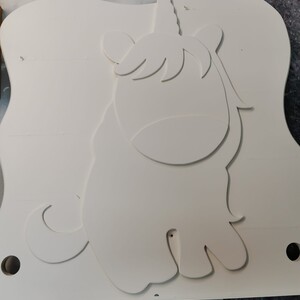
I suggested to give the unicorn a 3D effect instead of just painting it on. Three layers of 4mm MDF were cut on the band saw to form the different unicorn parts. The base plate is 18mm MDF and the individual shelves got cut from 15mm MDF.
Tonie figurines are magnetic so we wanted to make them stick to the shelves. We opted for self adhesive ferromagnetic "paper" since it was available in A4 sheets you can easily cut and paint. The magnetic effect is not very strong unfortunately. For one shelf we embedded a piece of steel in the underside - this is much stronger and allows for hanging figurines upside down. All shelves got 45 degree chamfers and rounded corners.
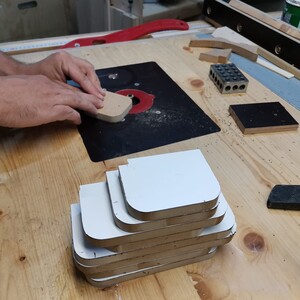
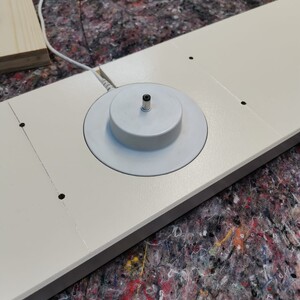
The bottom shelf should also hold the Tonie box itself and also charge it. So I bought a used charging station off the local classifieds (still much too expensive for what is basically a 9v power supply with a barrel jack in a piece of plastic). I cut off the actual charger and embedded the charging port into the shelf. To get a good fit, I 3D printed a router template to use with a copy bit.
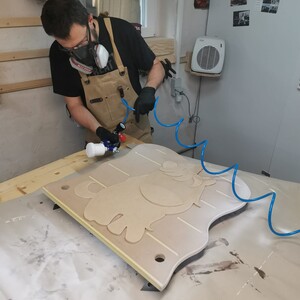
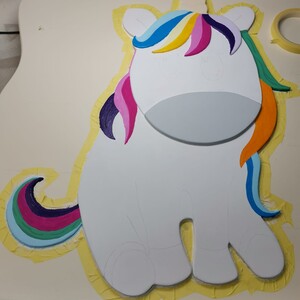
For painting, I tried something new. A HLVP spray gun. I had never used one before so I wasn't sure what to get. I first bought a mini one with a 0.8mm nozzle, which worked okay but the second, proper sized one with a 1.3mm nozzle worked much better for the larger areas. All pieces got two coats of acrylic primer, then several coats of acrylic paint. Finally Kaddi drew the unicorn and other decorations in acrylic paint as well.
To hopefully make everything scratch resistant a final coat of a polyurethane enhanced acrylic clear coat (meant for hardwood flooring) was added.
Electronics
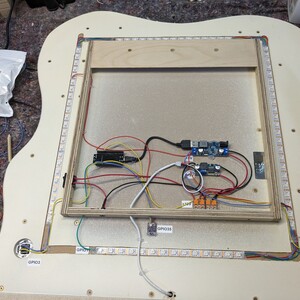
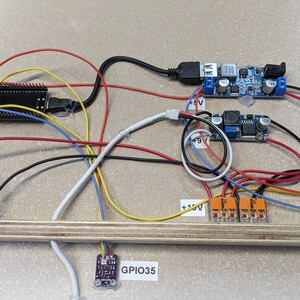
With everything done on the front, it was time to work on the back side. I had suggested to back light the whole shelf with RGB lighting. An old 19V power supply provides enough amps to power the LED strips, the micro controller and for charging the Tonie box. Two buck converters create the 5V and 9V needed for the tasks. An ESP32 is used to control the LEDs with a MAX4466 microphone to make it sound reactive.
I used the following connections to hook everything to the ESP32:
GPIO1→ LED DataGPIO35→ MicGPIO3→ Button 0 (right)GPIO21→ Button 1 (left)
For software, the excellent WLED firmware is used.
Installation can be done via their web interface, just be sure to select the Sound Reactive version of the firmware.
Once installed, some additional configuration is to be done.
I wanted our LEDs to start at the bottom center, so we need to move the first 7 LEDs to the end. This can be done with the mapping feature.
- /ledmap.json
{"map":[6,7,8,9,10,11,12,13,14,15,16,17,18,19,20,21,22,23,24,25,26,27,28,29,30,31,32,33,34,35,36,37,38,39,40,41,42,43,44,45,46,47,48,49,50,51,52,53,54,55,56,57,58,59,60,61,62,63,64,65,66,67,68,69,70,71,72,73,74,0,1,2,3,4,5]}
Reboot the controller after saving the map.
Next I created a bunch of presets using the UI. Select an effect and colors or a color palette, tune the sliders until you have something you like. Then save it as a new preset.
I created sound reactive presets on the IDs 1 to 6 and some additional presets on IDs 7 to 14. For most of the effects I enabled the “mirror” option on segment 0. This will basically split the segment in half with each half mirroring the other. This can be best seen when enabling the “Chase” effect. When saving the presets, make sure to save the segment boundaries (and thus the mirror effect) with it.
I then created Presets 100 and 101 for my buttons. Remove the use state check mark and you can enter API commands.
I wanted one button to cycle through the sound presets, so I used win&P1=1&P2=6PL=~. It means cycle from preset 1 to preset 6, increasing by 1. It's explained in the preset docs. The other button cycles through the non sound presets 7 to 14. So my command is win&P1=7&P2=14PL=~.
Finally add 100 and 101 to the button config under Macros.
Result
I think it came out absolutely awesome. I am not sure how long it will survive handling by a toddler but it was fun to build and I enjoyed collaborating with Kaddi on it.
