Pallet Wood Crafting Table
One of my favorite YouTube channels is EpicUpCycling. If you don't know it, check it out. Jason builds amazing things out of pallet wood.
I'm far from his skill, but he taught me not to throw away or just burn pallets. The wood might look shabby but with a bit of work you can make it into something beautiful.
As fate would have it, Kaddi wanted a dedicated crafting table in the office and at the same time I had some pallets from recent deliveries - so why not give it a go and make a table from them.
Note: when working with pallets, pay close attention to the stamps. You should look for a HT mark which denotes heat treating instead of poisonous chemicals. AFAIK all pallets on the European market are safe thanks to regulations, but better check.
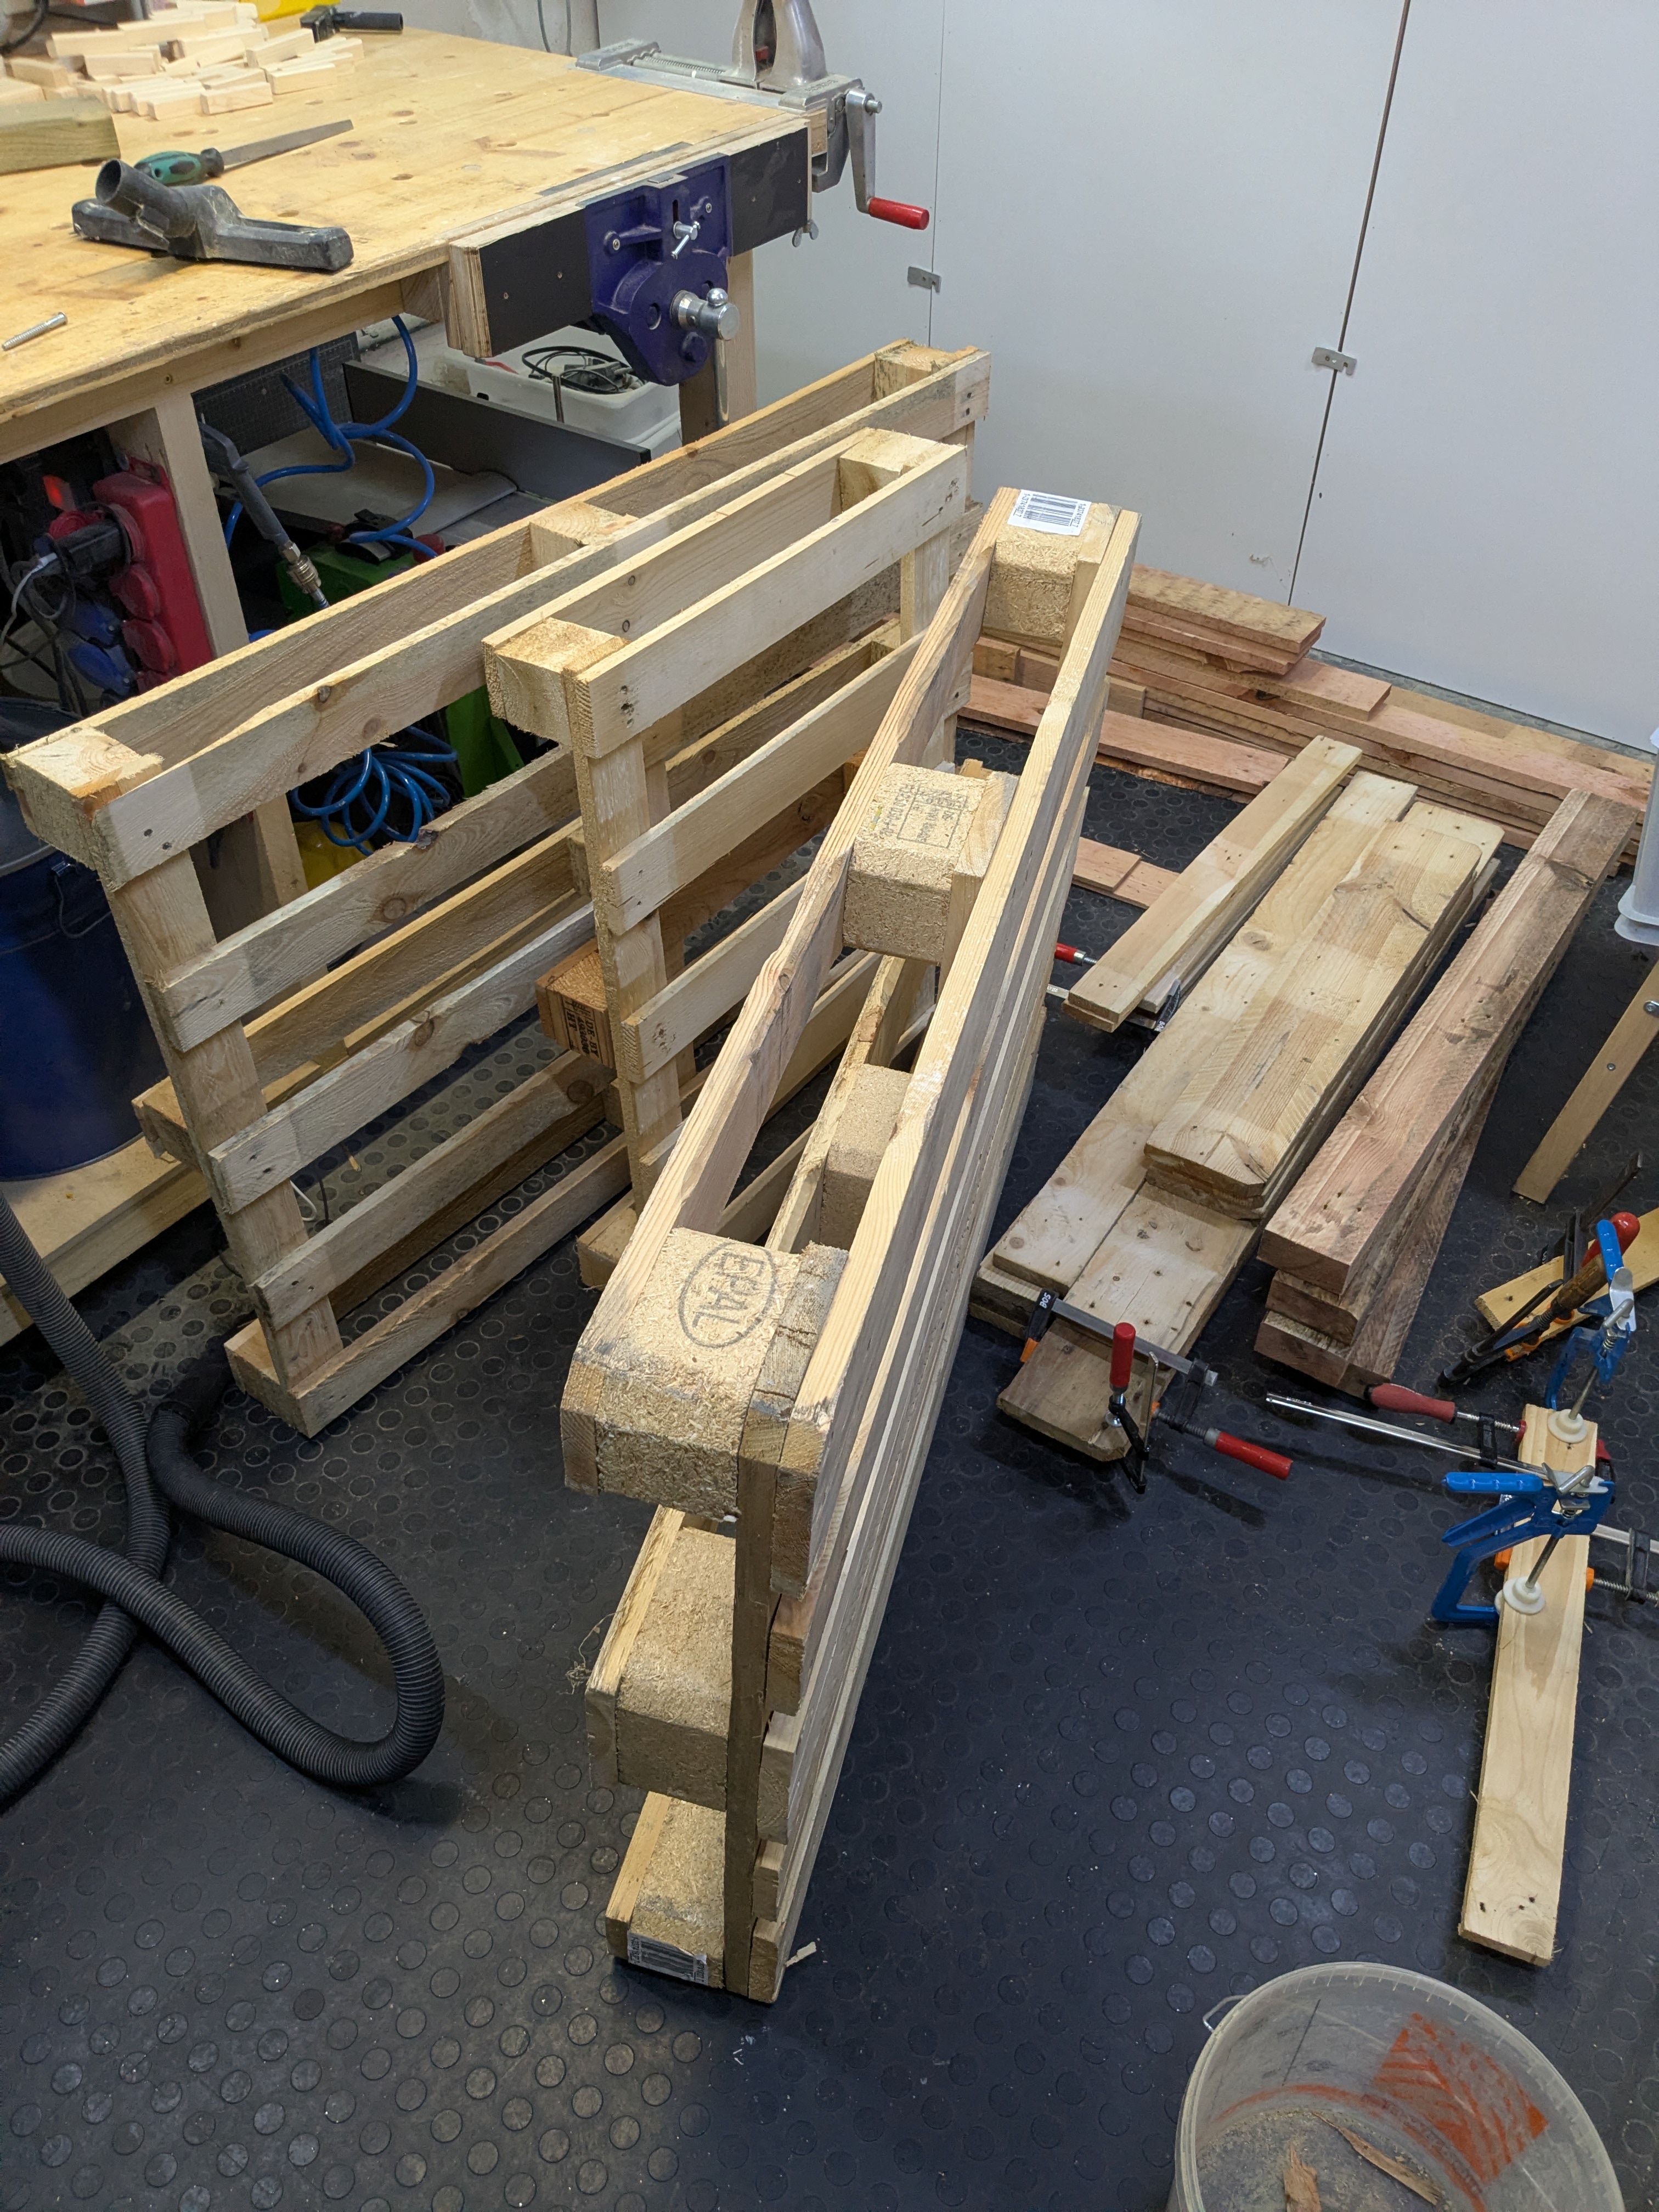
Processing pallets doesn't take much skill, just time. The hardest part is to take them apart and remove the nails without breaking the wood. From there on the process is:
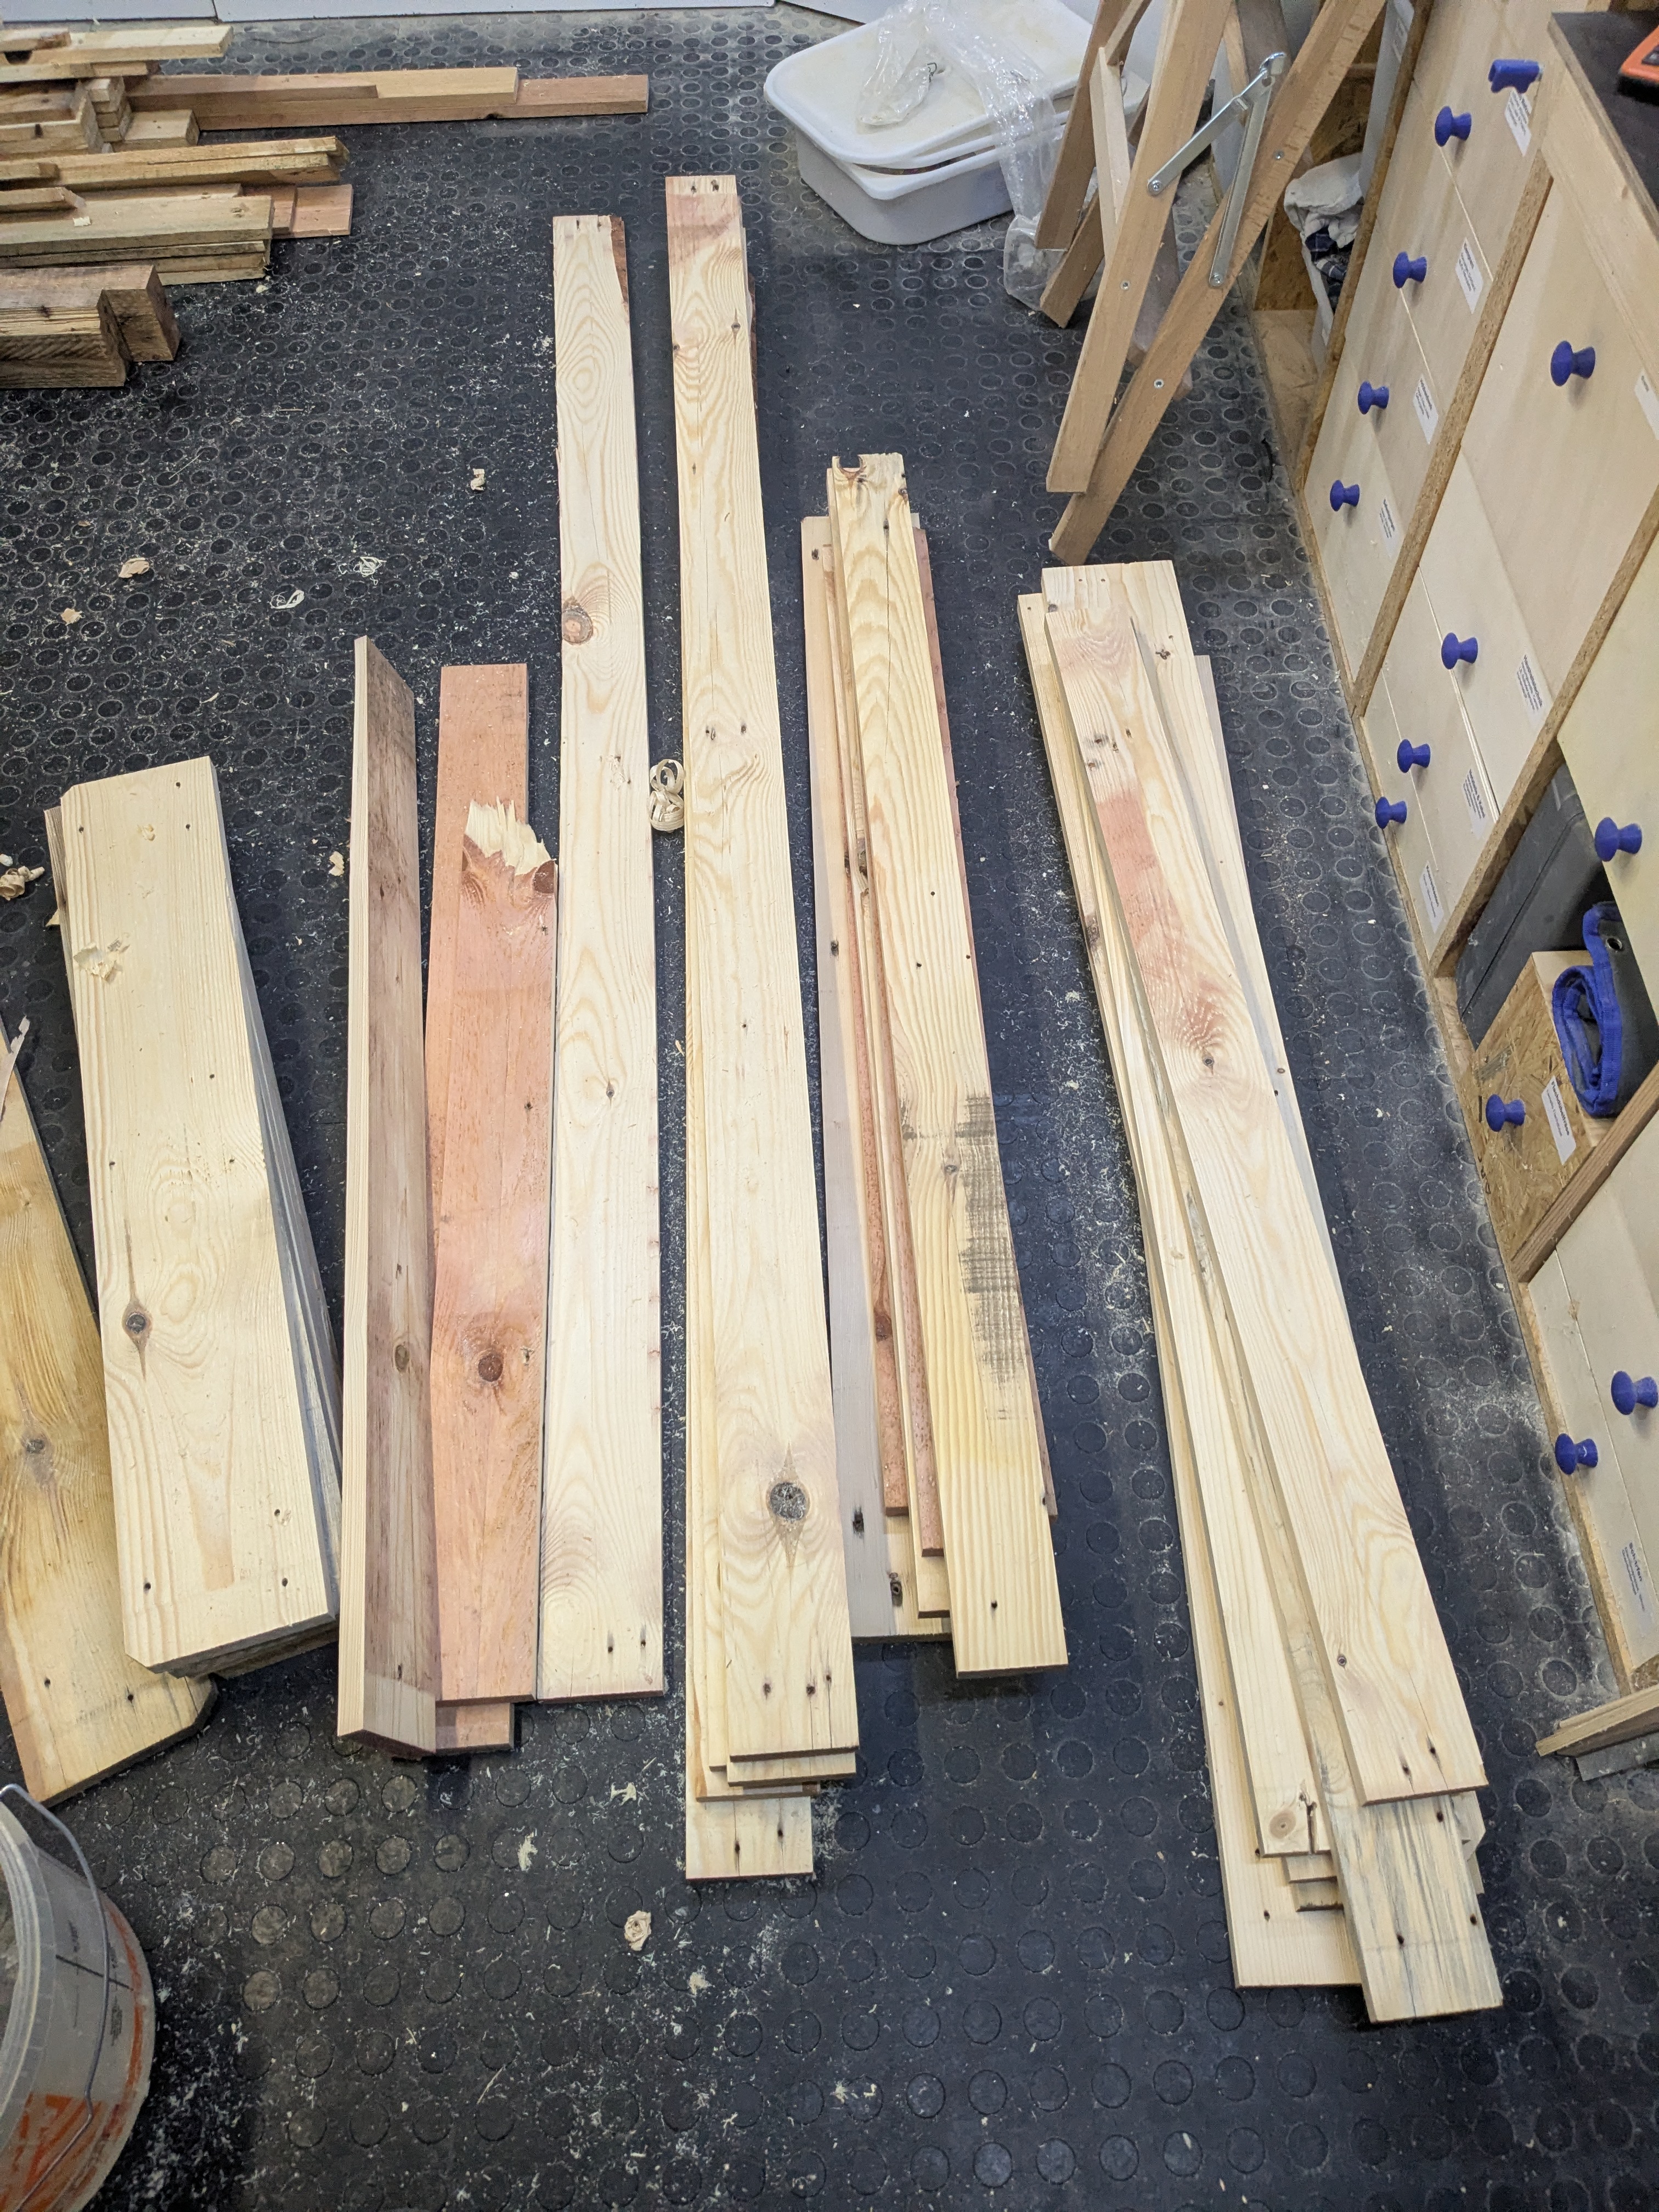
- send each board through the thickness planer until all boards are somewhat clean and have the same thickness
- straighten the edges, ideally using a jointer, but I find the table saw to be good enough
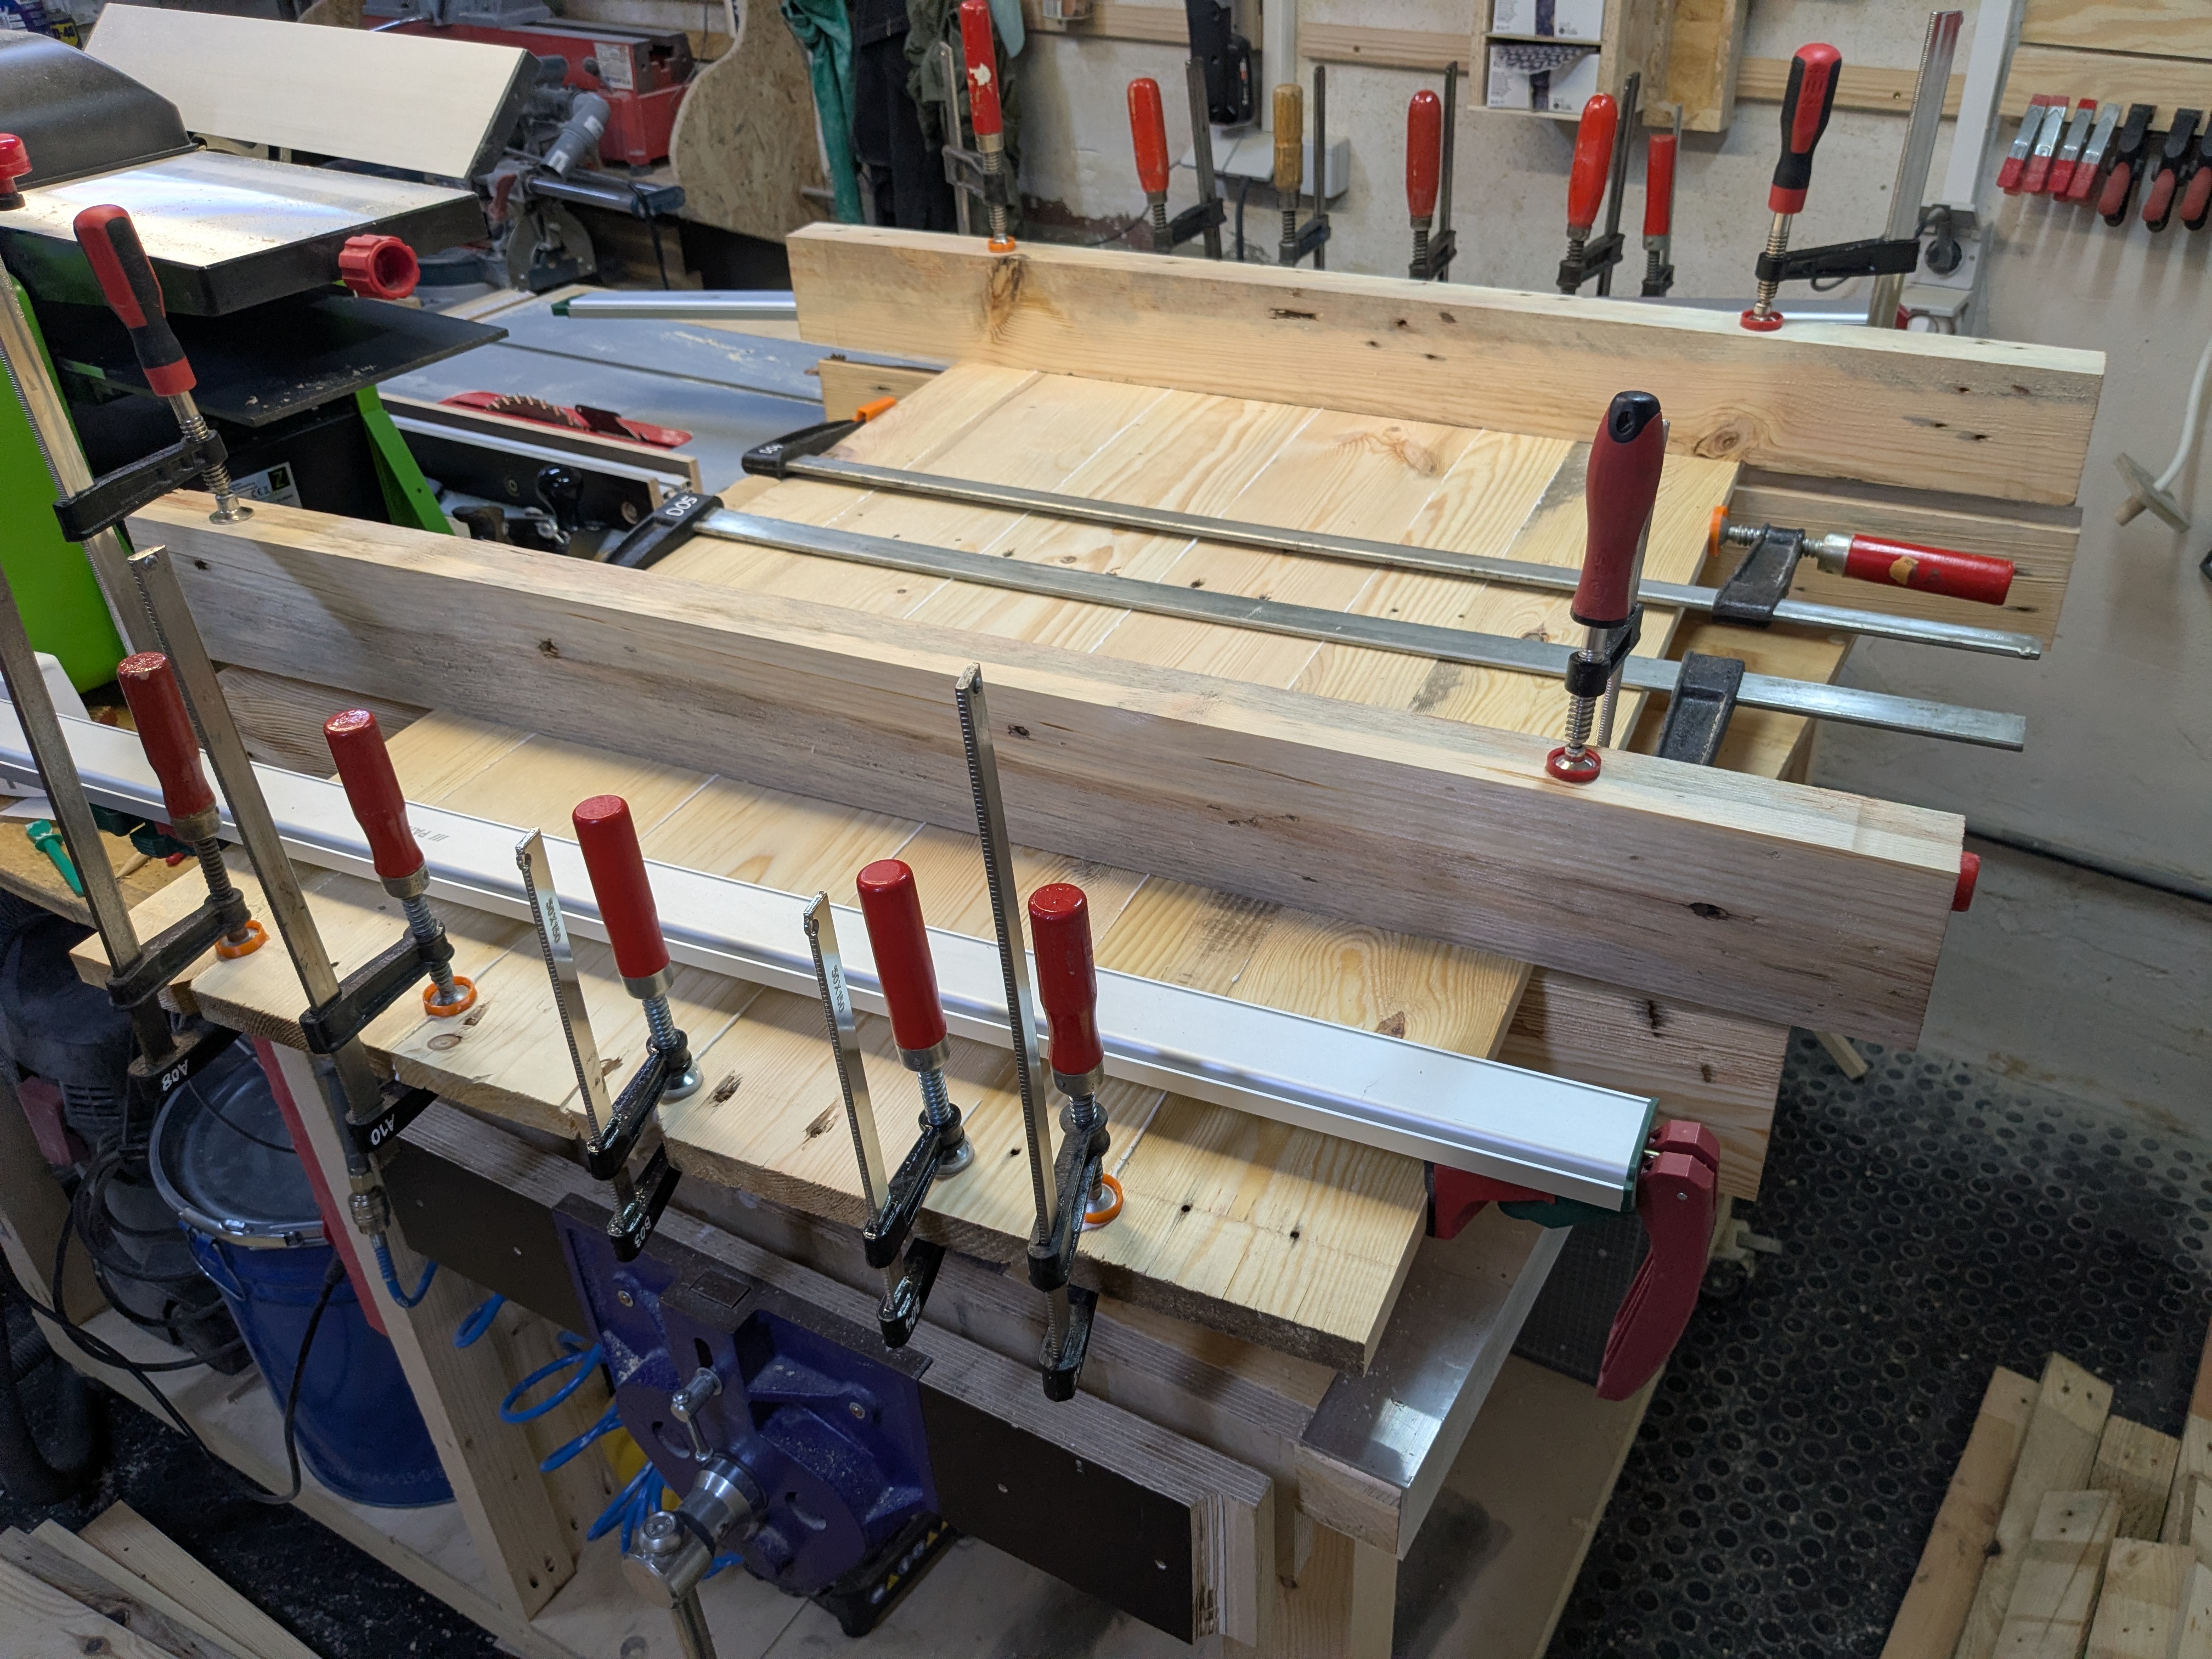
- glue the boards into panels using lots of clamps
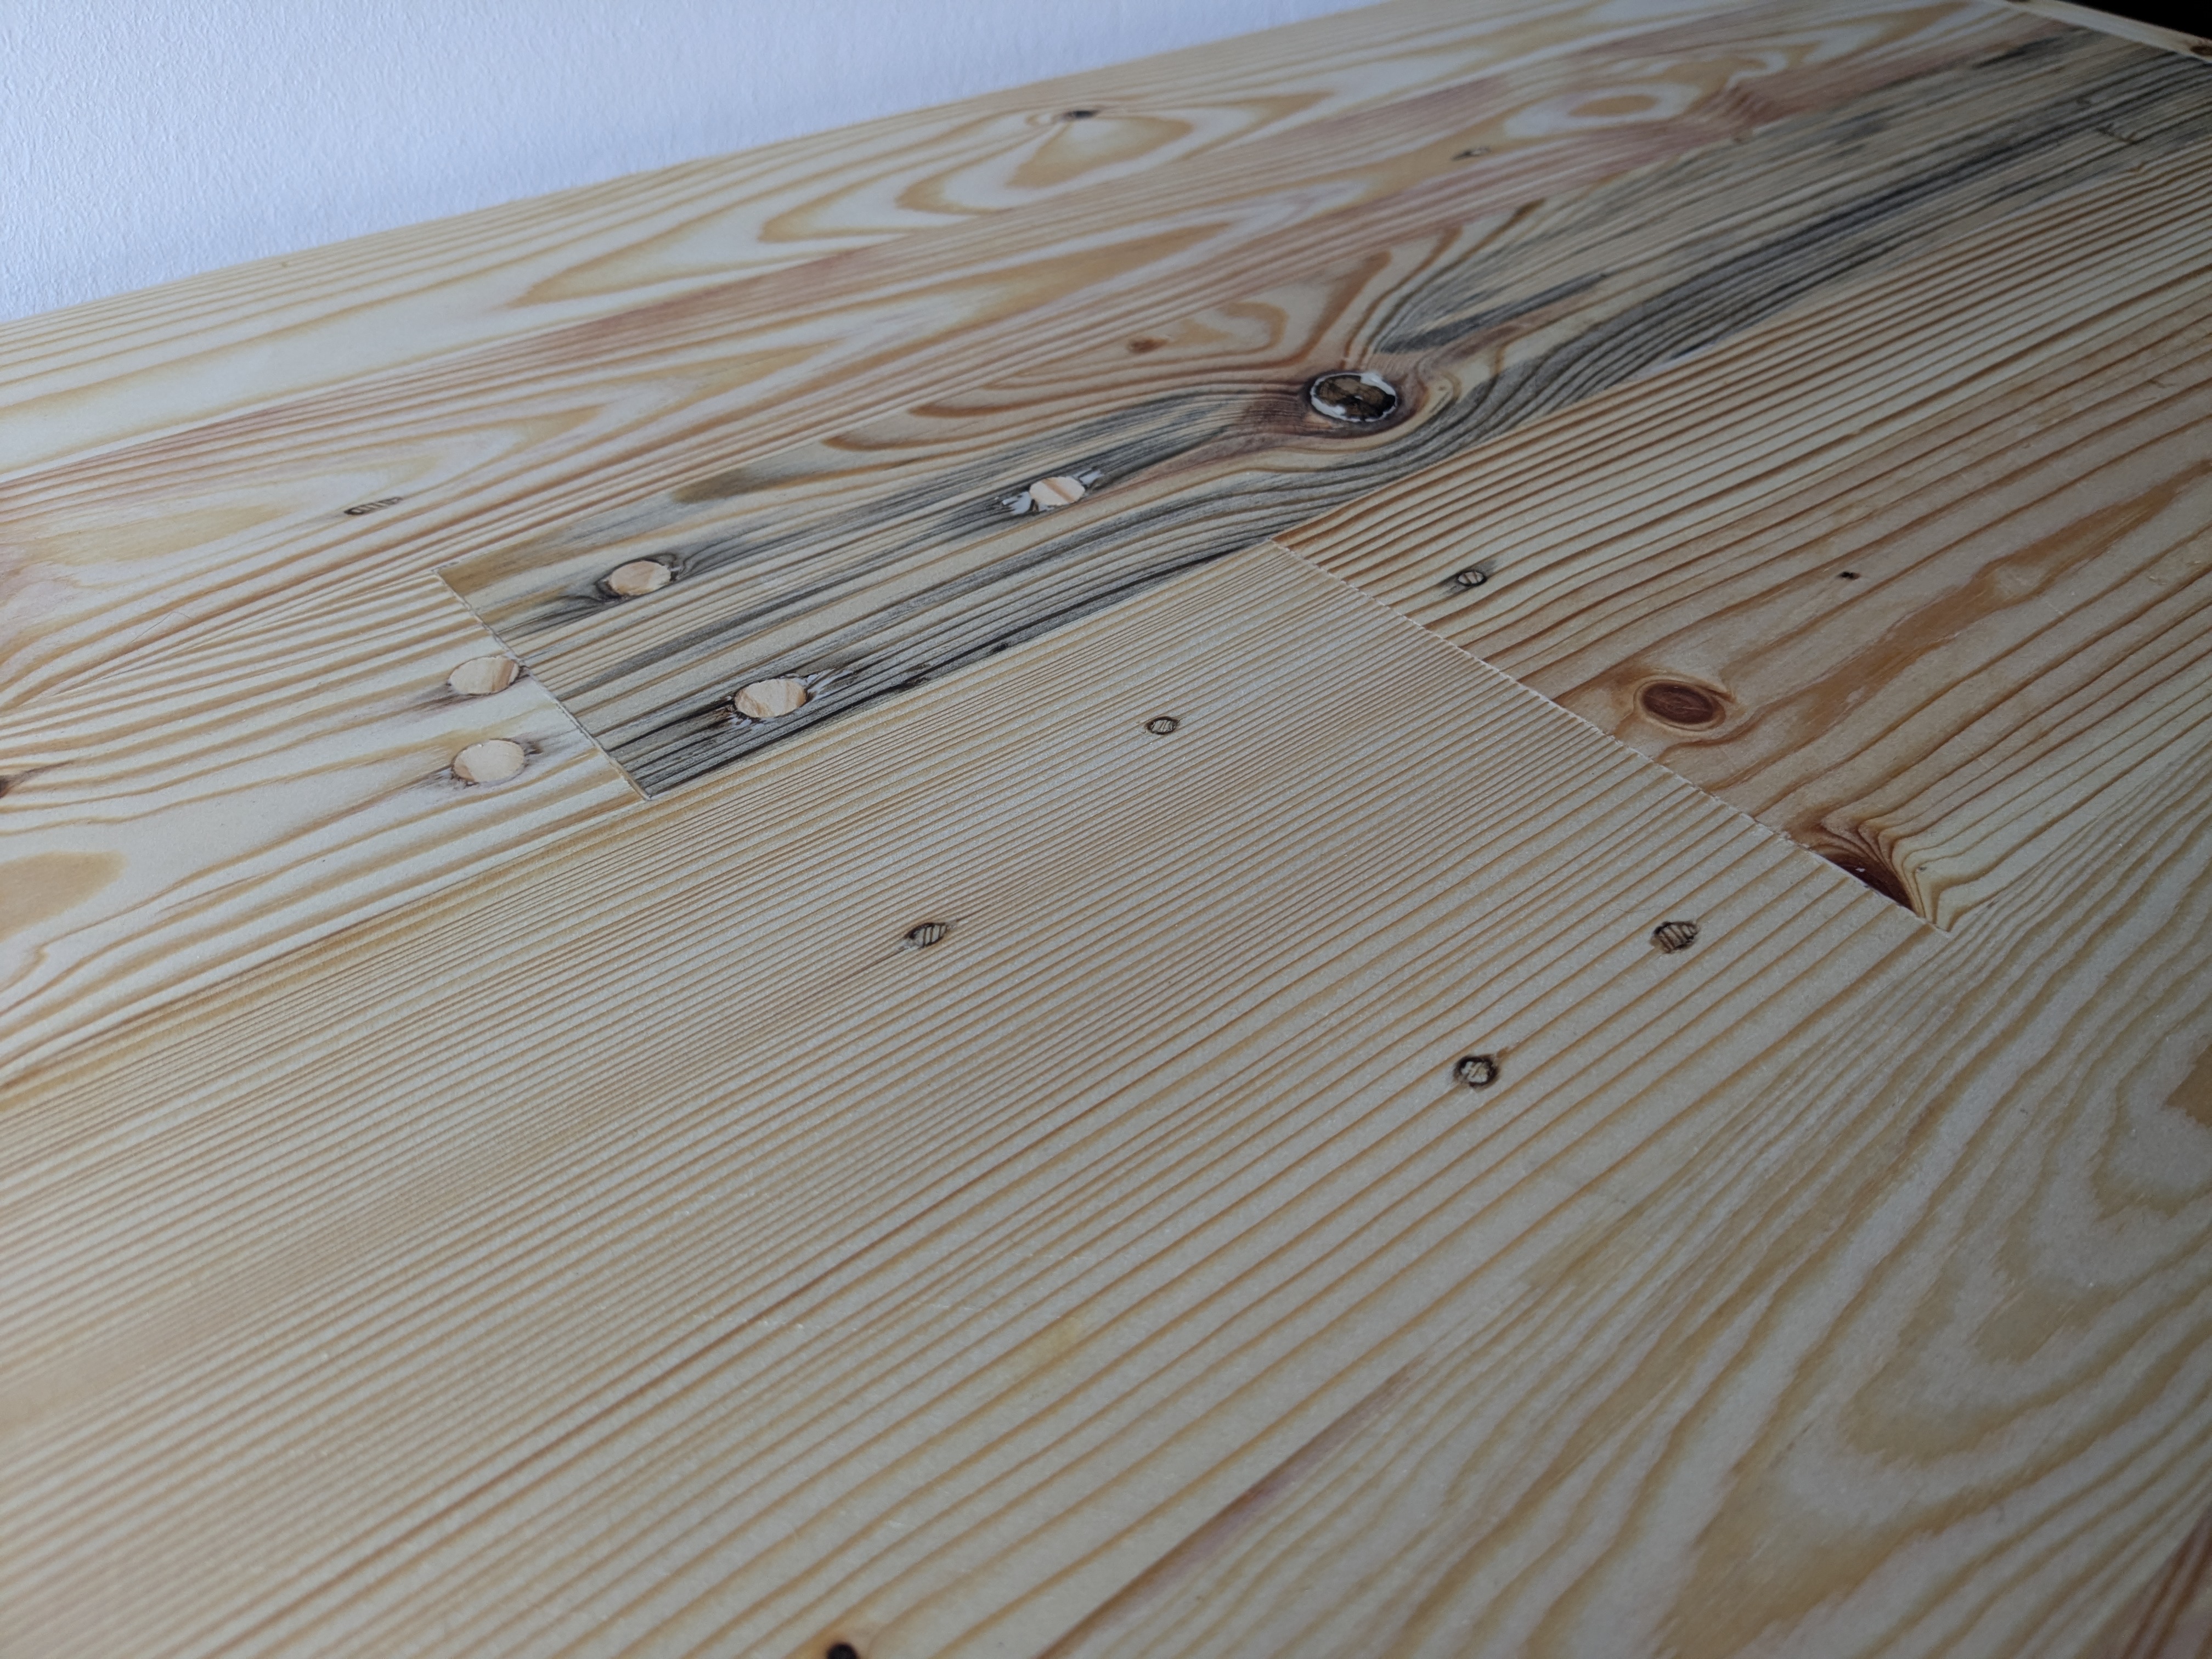
- fill in all the holes and imperfections with dowels and/or wood filler
- sand everything. first with the belt sander at 80 grit and then with the orbital sander up to 240 grit
Of course, each of these steps takes longer than you think. At least longer than a YouTube montage makes you think it would. But I find it really meditative. It's a great way to relax after a full day of mental work. Just do something with your hands, listen to a podcast and push boards through the planer…
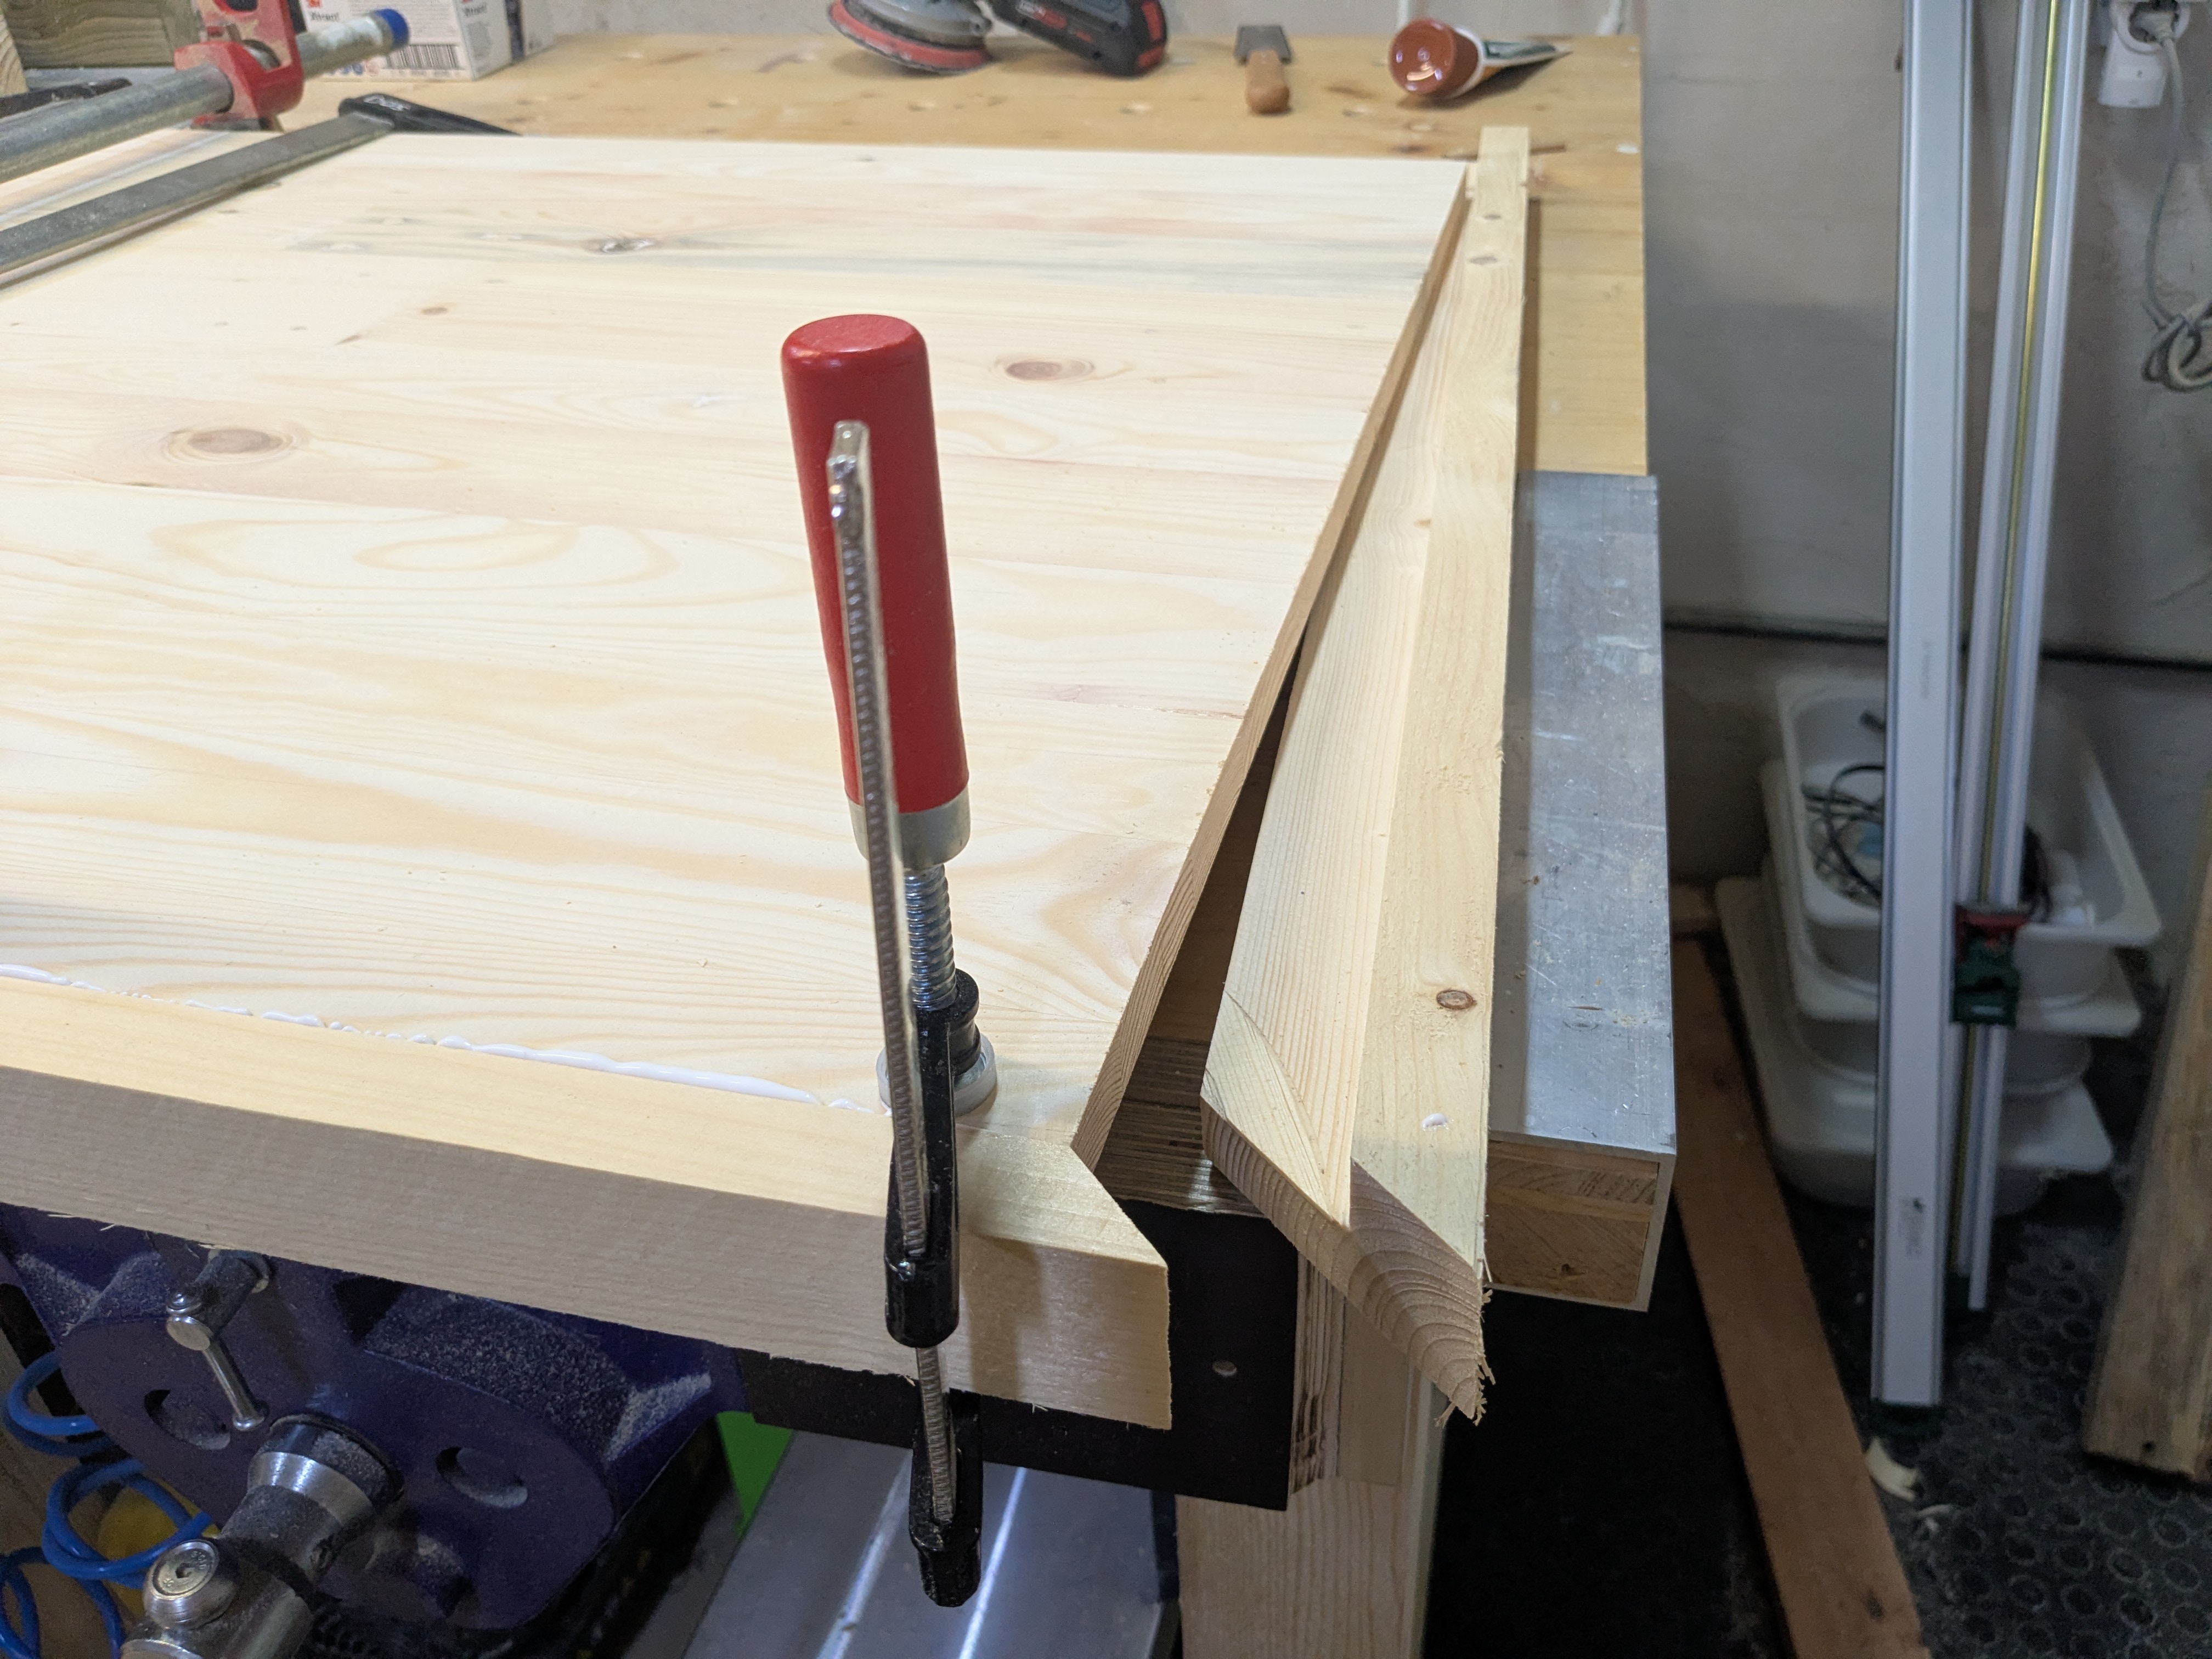
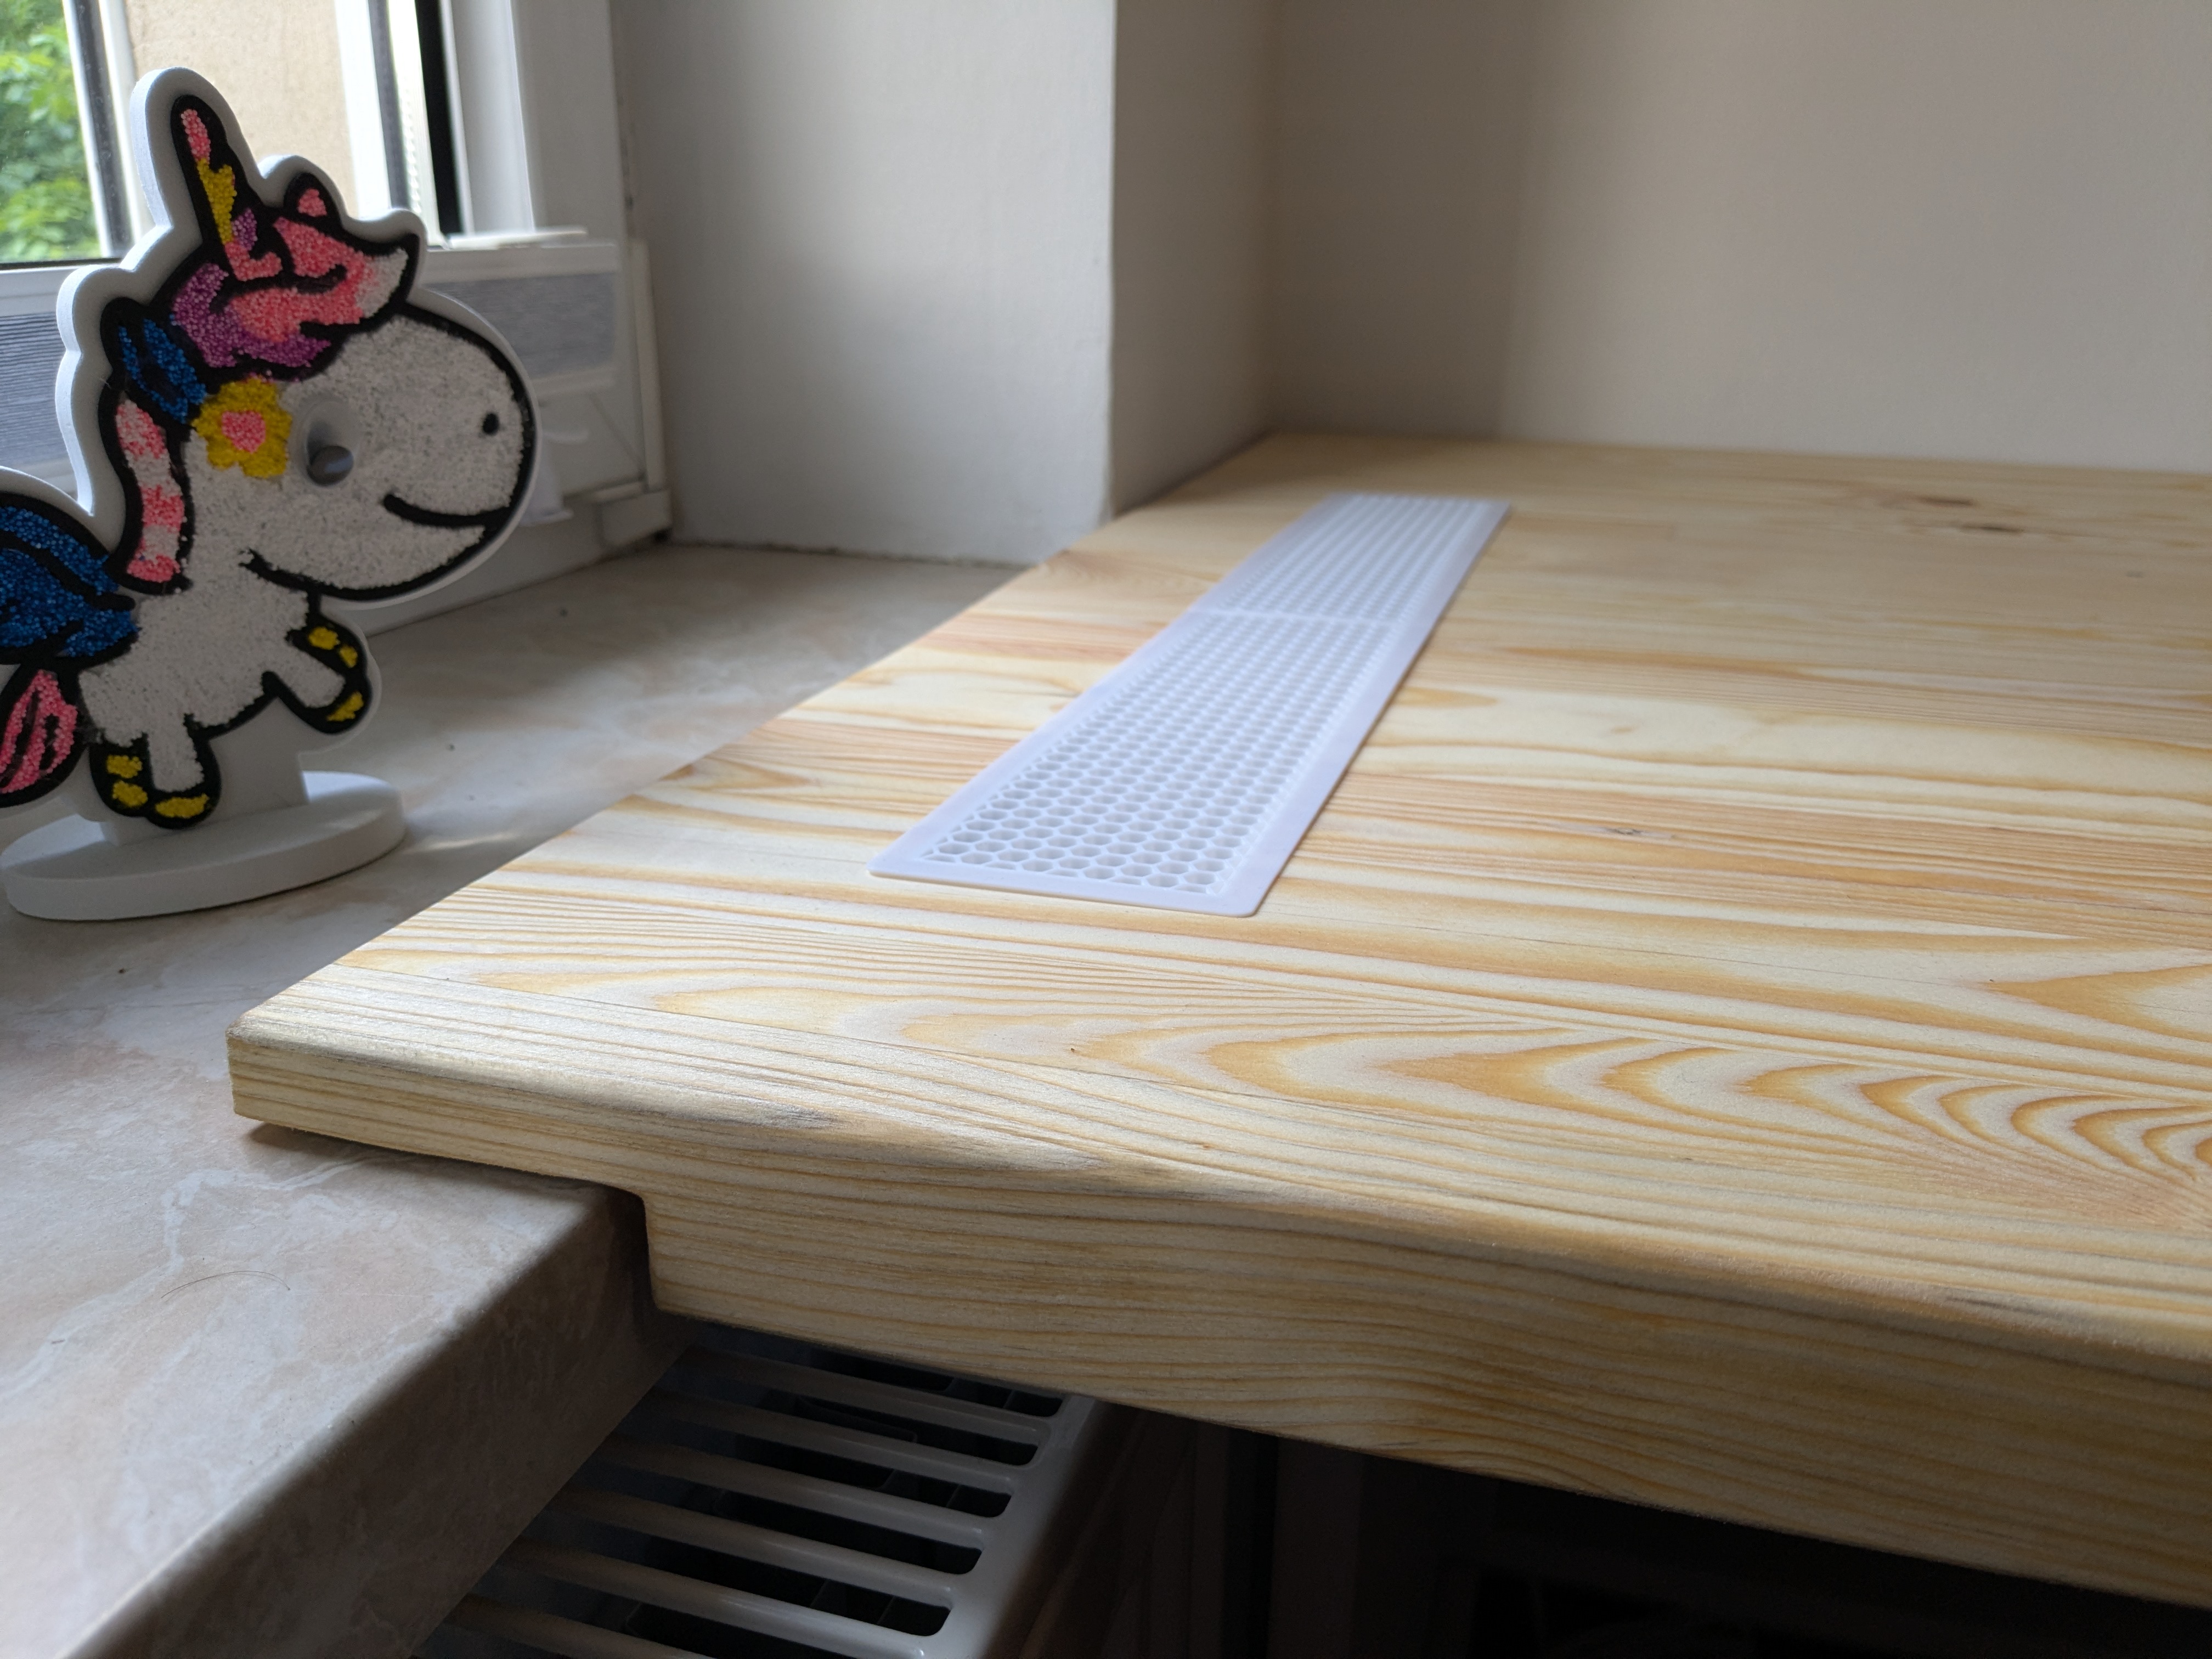
For the crafting table, I started with the table top. To make it look beefier than it is and give it a little more stability, I framed the two visible edges with a 2×1 which I routed into an L-shape and joined with a miter.
Part of the top reaches over the heating radiator, so I added a ventilation grate. The grate itself is 3D printed, using a hexagon pattern matching the theme of our office and because hexagons are bestagons.
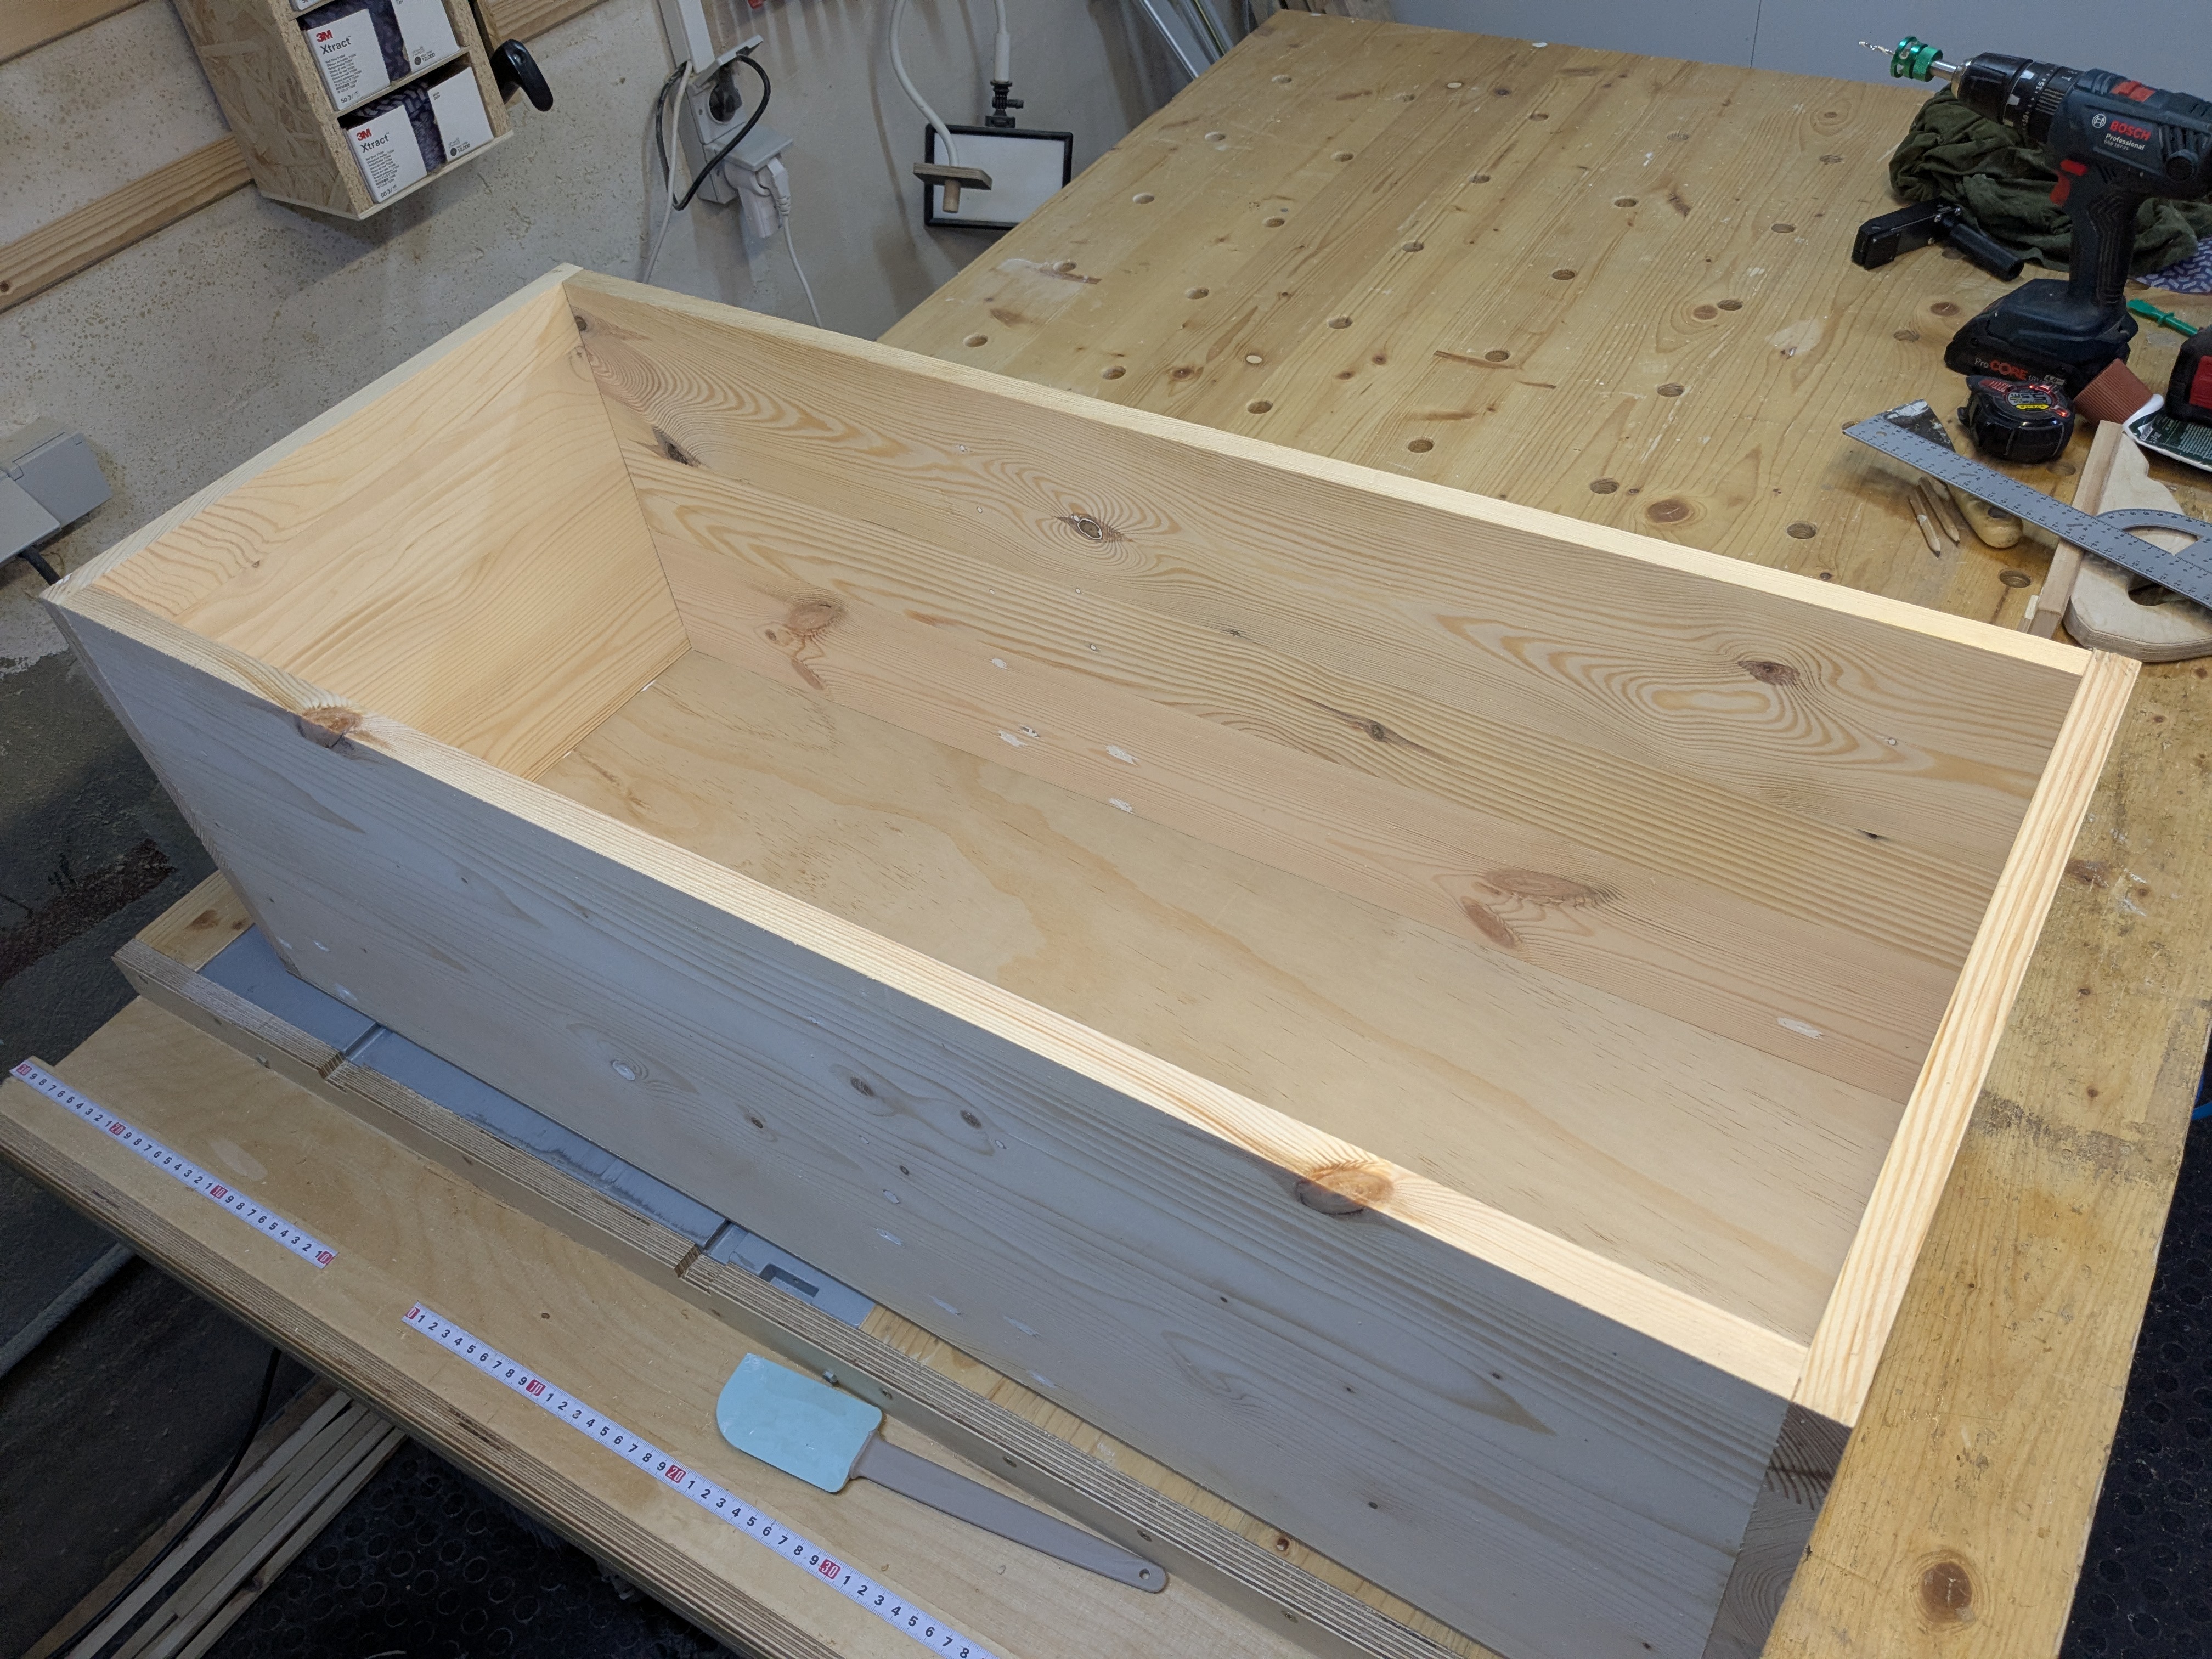
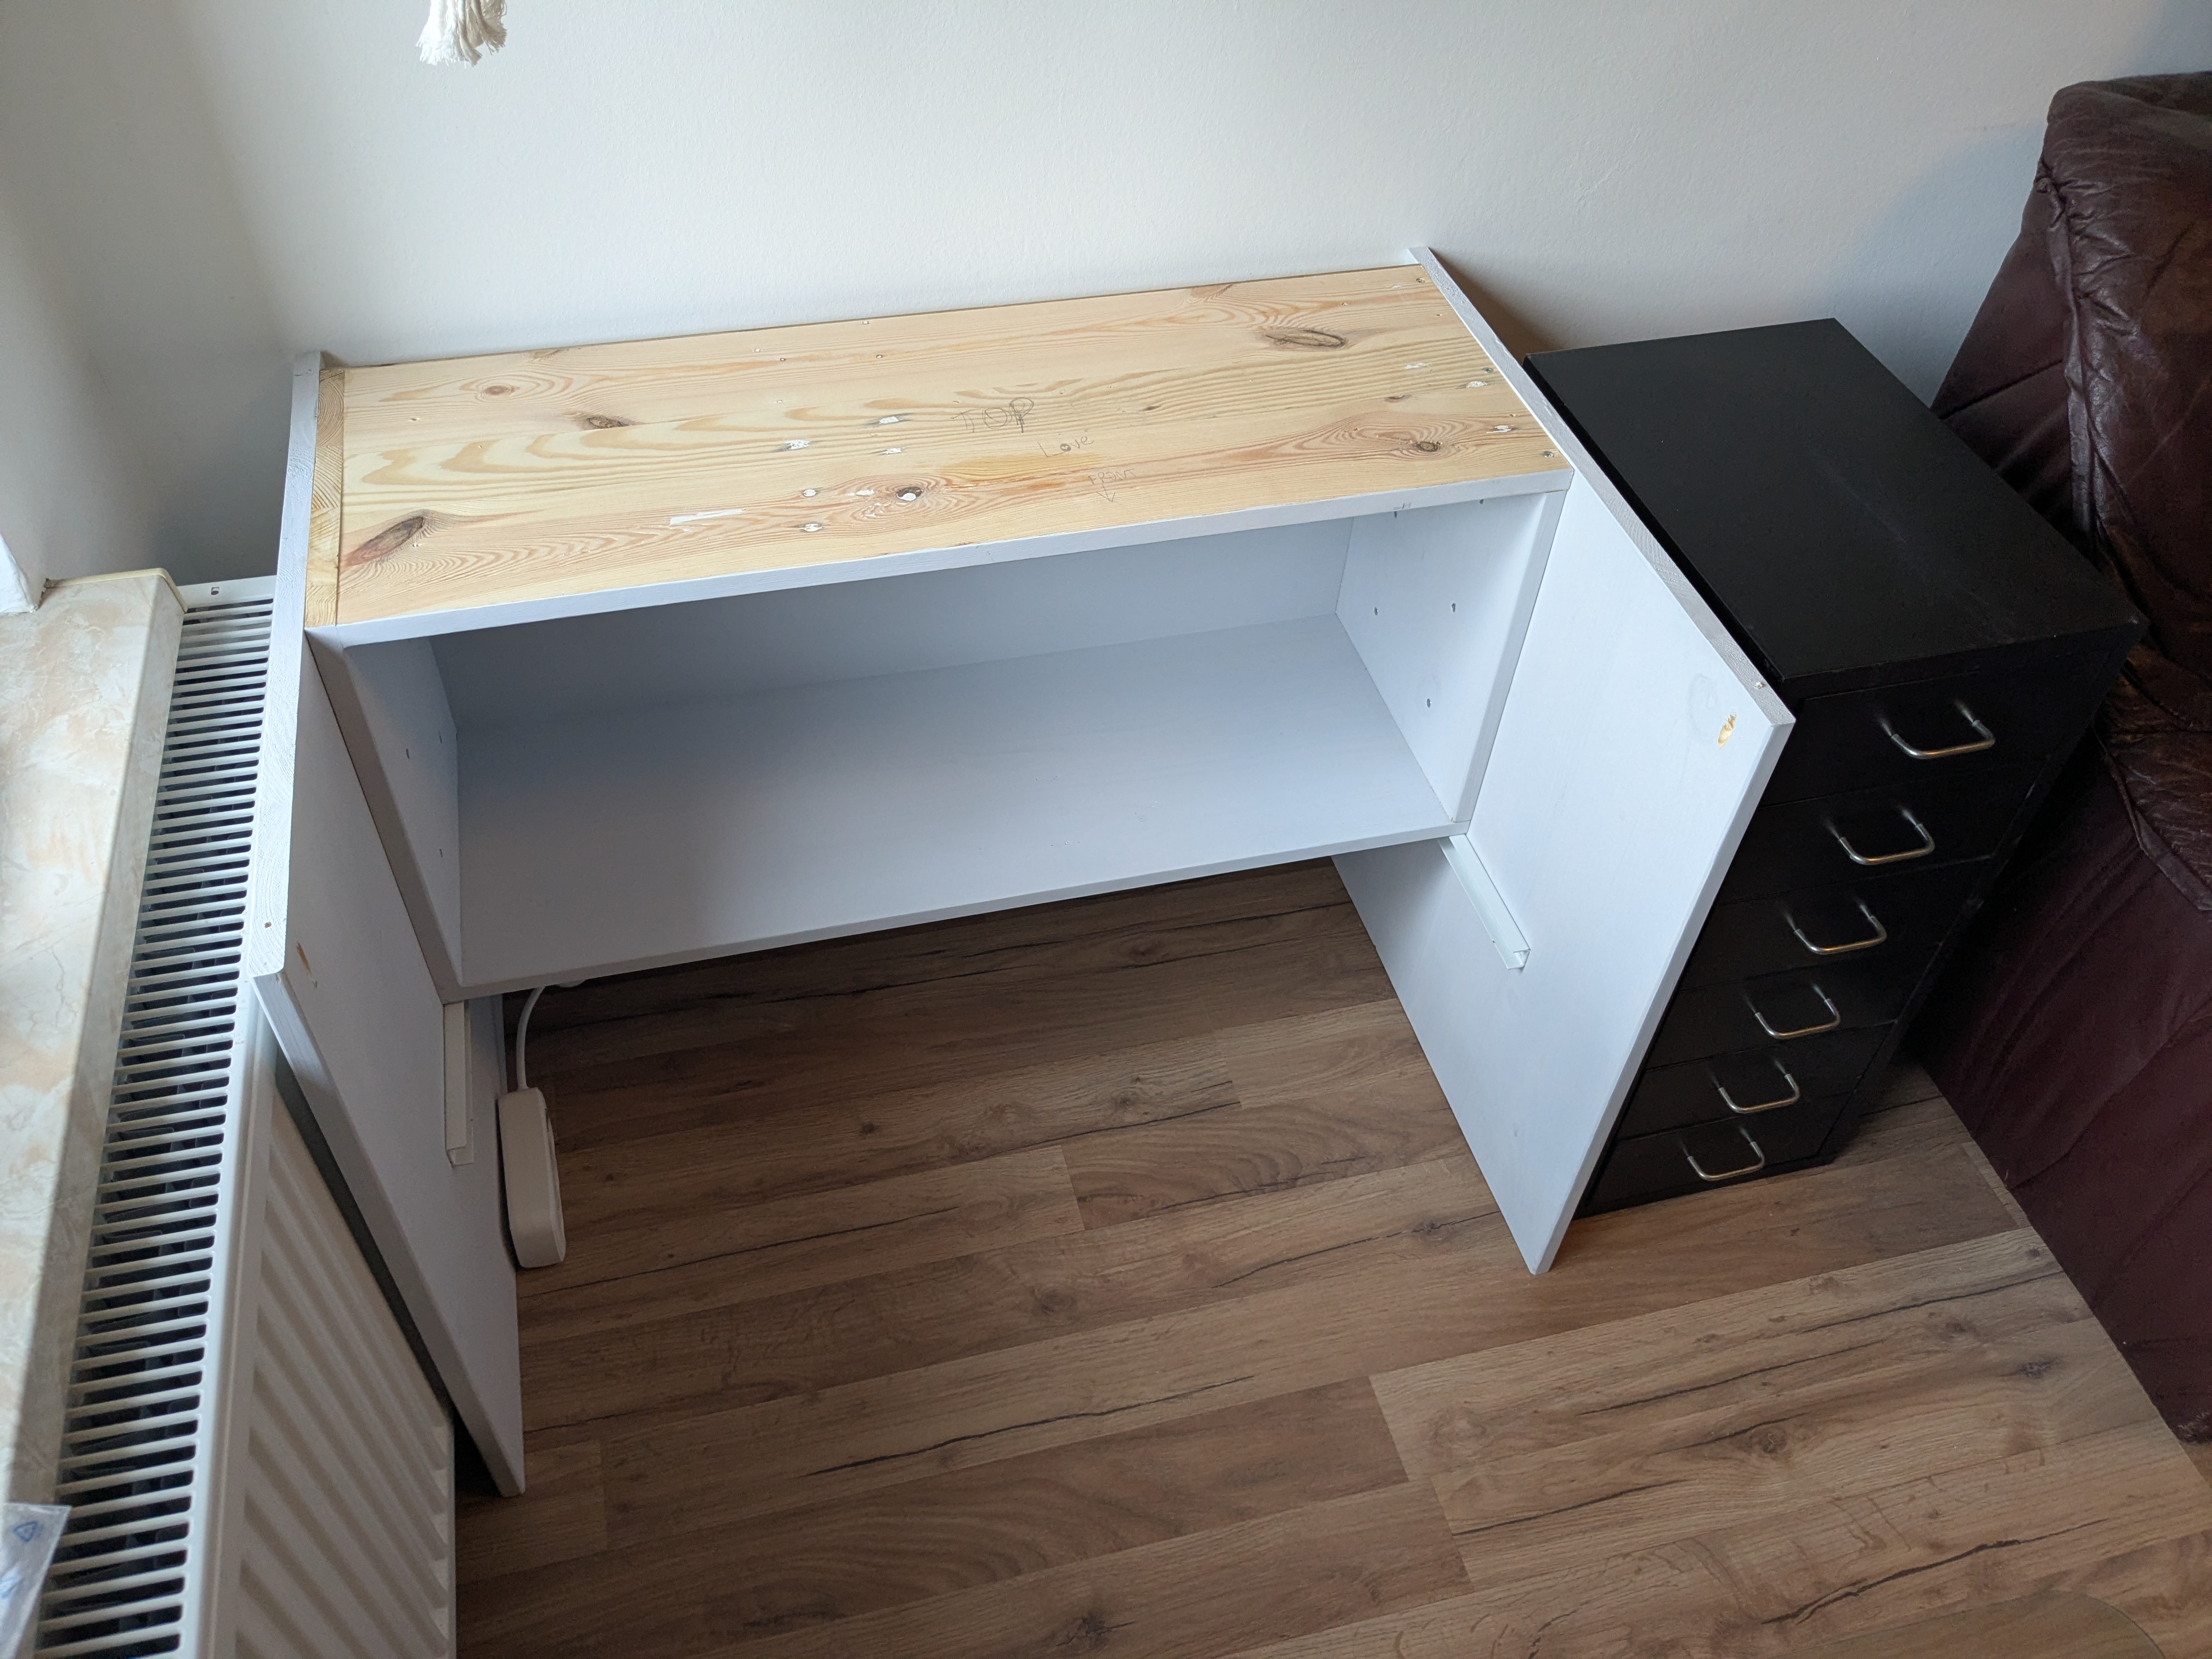
The table top is held up by two side panels connected by a large shelf. I will probably create custom inserts for the shelf at a later point. Maybe some drawers, maybe some larger containers.
Of course I had to fuck up somewhere and my measurements were off – the whole shelf was like 5cm too wide. I had to cut it and glue it up again. That was annoying.
For finish, I decided to keep the desktop's pallet origins visible and just oil it – that also matches our main plain wood desks. The sides and shelf are painted with the same chalk paint we painted our printer cupboard with.
So far, I am happy with the build. The thing I'm most worried about, is warping. We'll see how it goes. If it all goes wrong, I might try to route some channels in the top's underside and embed some steel bands as I have seen on commercial tables.