
Home Assistant Transplant
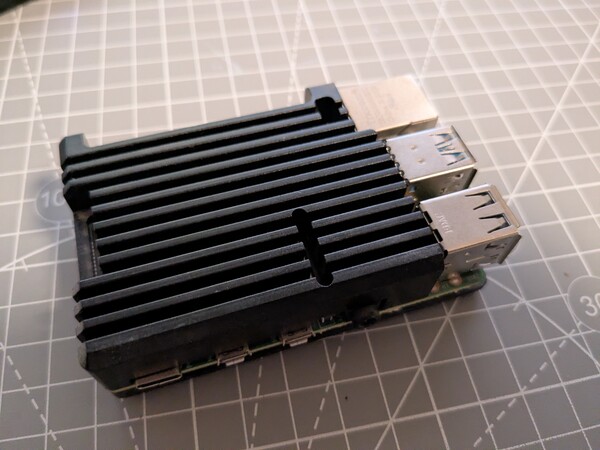
I have been running Home Assistant on a Raspberry Pi 4 for about five years now. A short while ago, homeassistant was suddenly no longer responding. Neither web ui nor a SSH login worked. So I cut the RPi's power and rebooted it. That seemed to have fixed it and I didn't think about it.
Then this weekend I wanted to update Home Assistant and create a backup as usual beforehand. But somehow this backup always failed with
failed to perform the action update/install. Error creating backup: Backup failed: [{'type': 'HomeAssistantBackupError', 'message': “Preparing backup of Home Assistant Core failed. Failed to inform HA Core: Unsuccessful websocket message - {'id': 232, 'type': 'result', 'success': False, 'error': {'code': 'pre_backup_actions_failed', 'message': 'Error during pre-backup: Could not lock database within 30 seconds.'}}.”, 'stage': 'home_assistant', 'error_key': None, 'extra_fields': None}]
Looking at the logs I saw
The system could not validate that the sqlite3 database at //config/home-assistant_v2.db was shutdown cleanly
Apparantly my sudden reboot had corrupted one of the sqlite databases.
I tried to follow this blog post to recover the database but it didn't work. Home Assistant did not like the restored version.
So my only chance was to restore the database from a backup. Unfortunately the same issue had also influenced the automatic backups. The latest usable one was from 28th of June. So about two weeks of historical sensor data is lost.
Since I hade to restore a backup anyway. I decided to do what I had planned for a long time: move HA off the Raspberry and thus an SD card, to a “proper” system with a SSD.
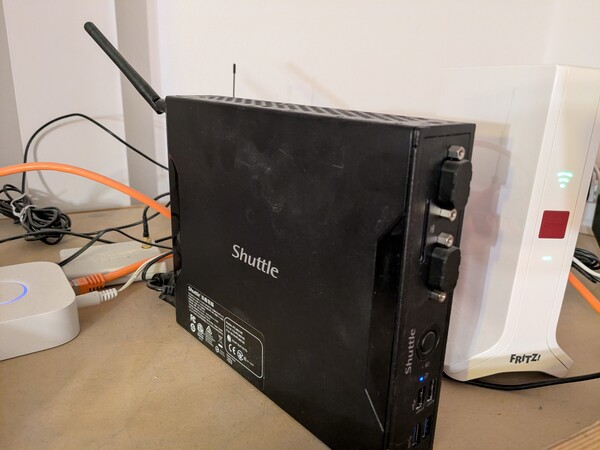
I still had an old Celeron 3855U based Mini-PC, that I had used a home lab Docker server until I set up my new NAS. It has 32gigs of RAM and a 500GB SSD – more than enough for Home Assistant.
I followed the official guide to set up Home Assistant OS from a Ubuntu Live image. To avoid having to connect a monitor and peripherals during setup, I used my Nano KVM - worked like a charm.

The rest was pleasantly simple. Once Home Assistant is up, you simply upload the backup during the onboarding phase – it takes a while to restore and then your Home Assistant is up and running as usual. The only thing I had to change, was the IP address (that made all my external integrations like MQTT and Grott work again) and switch the (no longer existing) RPi bluetooth adapter for the builtin one of the MiniPC.
I am glad my Home Assistant is working again. It has become an indespensible part of how my home works.