DIY Sliding Door
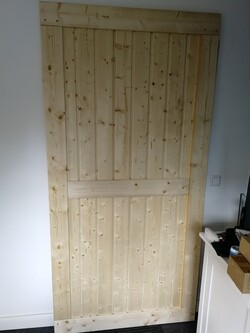
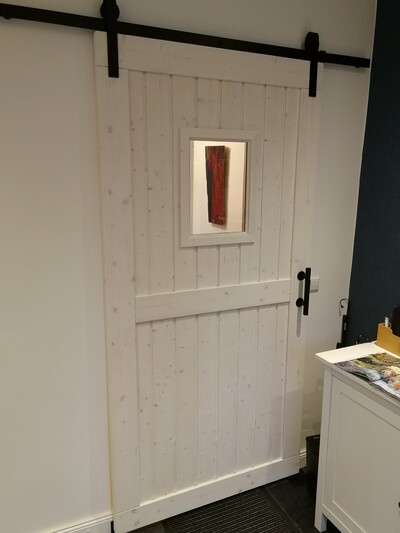 When we renovated the house, we replaced all the doors. Except for the one between the mudroom and the hallway. We always loosely planned to add a sliding door there later. Today we finally installed it.
I wanted to build the door myself and it took a couple of weekends to do so, but I think it came out super nice.
Including a bit of stuff I already had, the whole door was probably about 250 EUR. Not exactly cheap, but not too bad for a solid wooden door.
- Wood ~ 110 EUR
- Sliding Hardware ~ 75 EUR
- Handle Hardware ~ 20 EUR
- Glass ~ 22 EUR
- Paint ~ 12 EUR
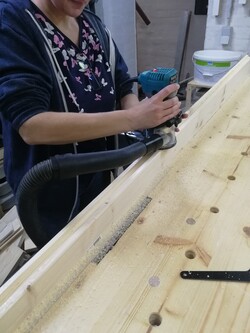
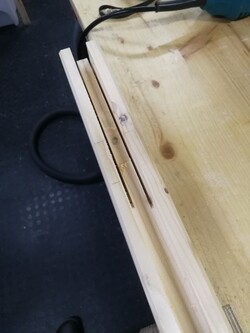
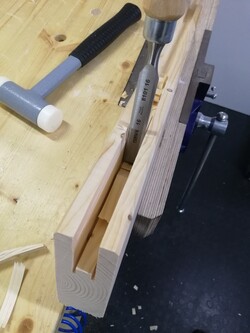
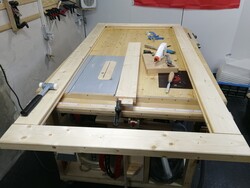
The frame is built from 40x120mm spruce beams. Step one was to cut a groove into the side about 18mm deep using the router. This would hold the shiplap boards later. The ends I cut a bit deeper to about 50mm using the table saw and then chiseling out the remainders.
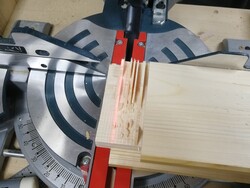
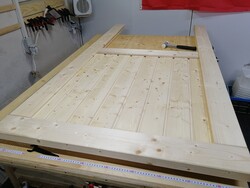
I cut tenons using the miter saw and made sure everything dry-fit together. Then I started to cut the shiplap boards. Some of them had quite a twist in them, but when cut down and forced into the grooves it all worked out.
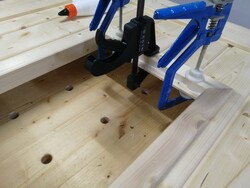
When everything fit dry, I disassembled the frame again and applied glue to all the joints. I did not glue in the shiplap boards, they free float in the grooves – hopefully that will be enough to compensate for wood movement.
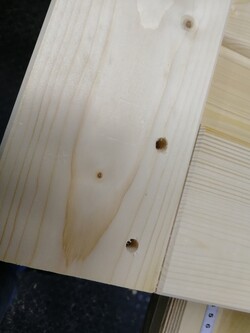
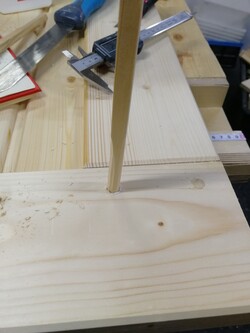
To reinforce the joints, I drilled holes through them and glued in wooden dowels which I trimmed with a pull saw and sanded flush.
This was also the very first time I could check my dimensions against the actual doorway. Luckily everything was right.
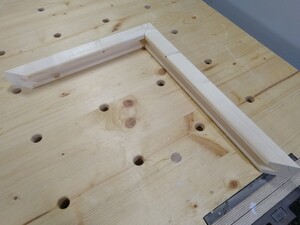
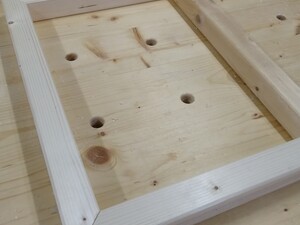
Back in the basement, it was time to build the window frame. Cutting the leftovers of my 40×120 beams in half would have made exactly the right amount of wood I needed.
If only I hadn't cut the miters the wrong way round on the first two pieces. The groove was supposed to be on the outside to grab onto the shiplap 
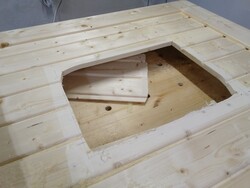
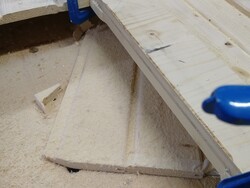
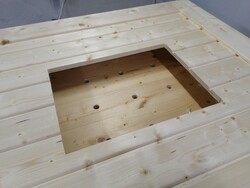
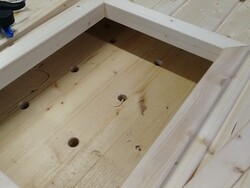
I rough cut the window using my jig saw. Then I clamped a piece of wood to the line and used that as a template to clean up the cut with a flush trim bit in the router. A bit of chiseling took care of the corners.
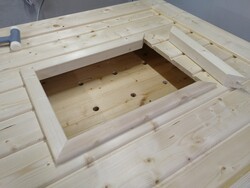
The frame pieces fit perfectly. Of course, there was no way to slide on all four of them. So I cut the fourth one lengthwise on the band saw, then glued both parts together with a thin strip of spruce to make up for the kerf.
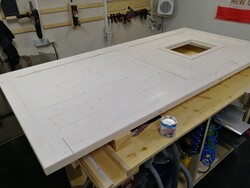
With the frame inserted, I glued in four pieces of quarter round stock on one side of the frame, gave the whole door a sanding to 150 grit and painted it. I used a single coat of lacquer stain and I really like the outcome. With only light sanding (to 150 grit again) it feels super smooth and the wood grain is still visible. Exactly what I wanted.
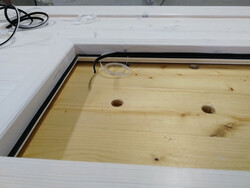
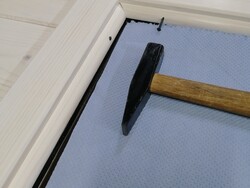
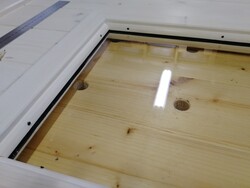
With the paint done, it was time to add the window glass. It's 4mm and I bought it cut to size at a local glazier. To mount it, I added self-adhesive weather stripping on the quarter rounds and the frame itself, then dropped the glass in place and carefully nailed another quarter piece on top.
Tip: put a shop towel under the hammer and let it slide on the towel. It should never leave contact with the glass.
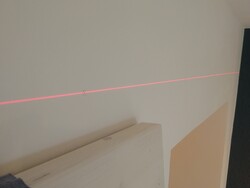
Back upstairs it was time to mount the door. The mounting hardware comes with all kinds of measurements, but I found it easiest to prop up the door with a board under it, then hold the hangers where I wanted them and determine the mounting height for the rail from that. Then I aligned a laser level to that height, marked the positions and drilled on the line. BTW. I did not use the wooden dowels that came with the kit but used proper 10/61 wall anchors.
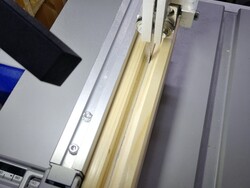
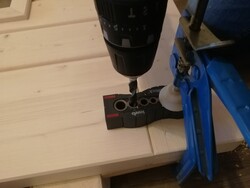
Once the rail was up, I again propped up the door, put the hangers on the rail and checked the proper height to mount them. To mount the hangers you need 11mm holes - a size that's not common for wood drills. I ended up drilling 10mm holes first, using a vertical drilling jig, then redrilling with a 11mm metal drill bit. Worked just fine.
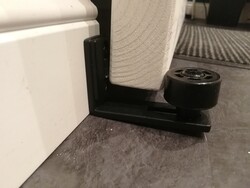
Finally the bottom roller was mounted to the baseboard and the handle was added. Easy peasy.
