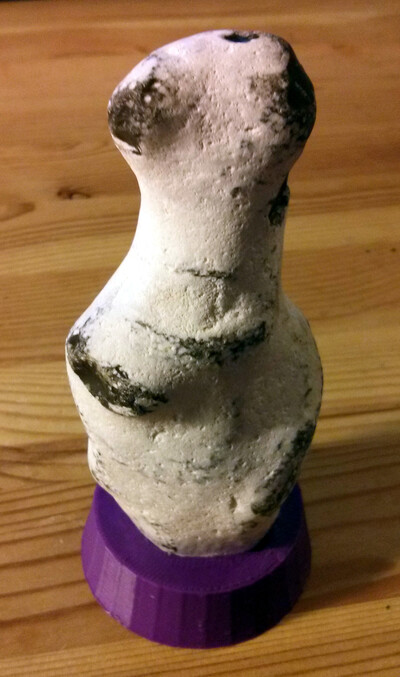
Mummy King - A 3D print adventure
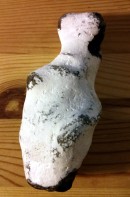 This is “Der Mumienkönig” - “The Mummy King”. It is an ancient artifact of unbelievable worth.
Well, actually it's just a somewhat funny looking flint stone I found on our trip to Rügen earlier this year. But I like it and wanted to put it on display.
Of course a king needs to stand upright, so some kind of stand was needed and this is how my evening turned into a new 3D printing adventure…
Step 1: Measuring
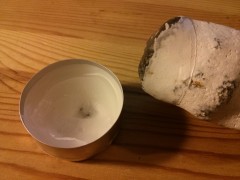
The stone at the bottom is irregularly shaped. Ideally, the stone should fit perfectly into the holder, so a near perfect measurement of the shape would be needed. My idea was to take an imprint and then transfer it to a 2D sahpe somehow. Kaddi had the brilliant idea to use wax for that.
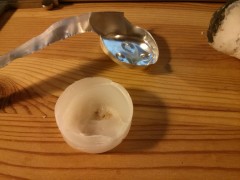
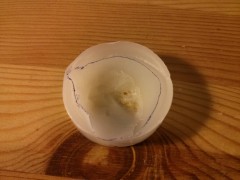
So I heated up a tealight and took an impression:
Step 2: Tracing
To transfer the shape of the imprint to the computer, I traced the border with a sharpie and put the thing to my scanner.

I then imported the scan into Inkscape and traced manually traced the outline, making sure to use only straight lines - no Beziers here.
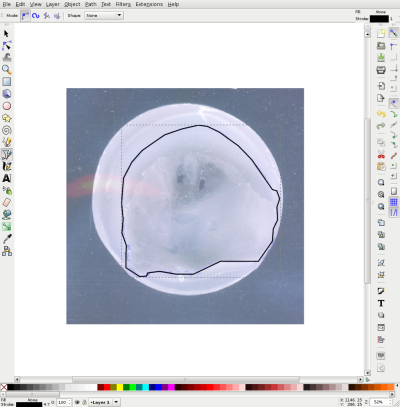
Now I had the right shape, but the dimensions were still wrong. I measuerd the width of the imprint with my calipers and adjusted the shape's size in Inkscape accordingly. I also moved it to position 0,0:

Step 3: Export to DXF
To get a usable DXF from my shape, I basically followed the tutorial at RepRap Prescription. It basically boils down to having a path with straight lines only.
However when saving your file as DXF, make sure to uncheck all the option in the save dialog and set the units to mm:

Step 4: OpenScad!
Time to make use of the shape in OpenScad. It's a simple matter of importing it and linearly extrude it along the z-axis:
linear_extrude(height=30) import("mummyking.dxf");
This gives you a 3D shap you can use to cut out a hole from any other OpenScad primitive.
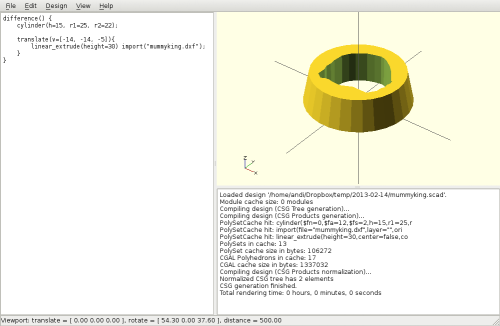
Export your work to STL and you're ready to slice it in your favorite slicer.
Step 5: Print it
Using the excellent OctoPrint of course.

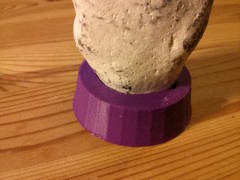
Step 6: Enjoy!
