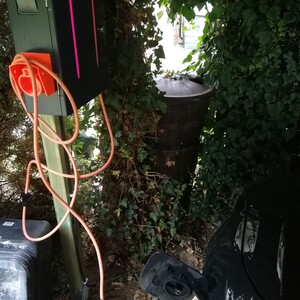
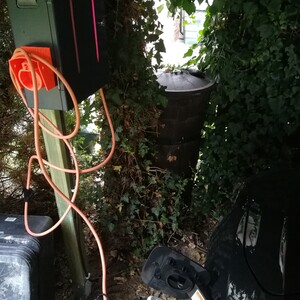
DIY ICCB Wall Box
As a new sub-urbanite, I was pondering getting a car for a while now, but wasn't super keen on all the side effects of car-ownership. So I was very happy when the opportunity to get a company car arose.
I was briefly thinking of getting a pure electric car, but in the end found a plugin-in hybrid to be the more practical alternative. We got a Kia Ceed PHEV which has a nominal pure electric reach of 60km. Enough for trips to the hardware store or excursions in the closer surroundings. For longer trips we can still fall back to the combustion engine.
So all of this is just introduction to this post's topic: the charging infrastructure.
The car comes with an “In-Cable Control Box” (ICCB) – A cable to plug in into a standard 220V 16A wall socket and a brick of electronics. It works just fine and for a few weeks we used this to charge the car. But taking it out and putting it back into the trunk becomes a bit tedious. So I wanted a somewhat more permanent solution in the car port.
For some reason everything that has to do with car charging is ridiculous expensive for what it is1). A proper wall box (aka. EVSE 2)) would have set me back at least 500€ with no more functionality than my ICCB. So I had to build something myself.
The plan was to build a wall box in the car port that would provide a power socket, an energy meter and space to store the brick part of the ICCB.
The Box
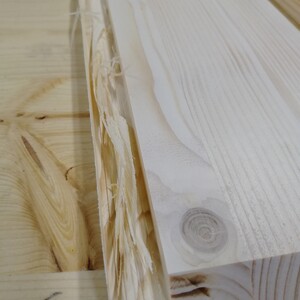
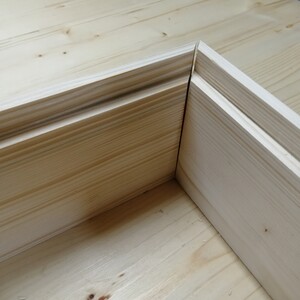
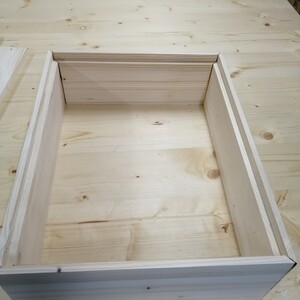
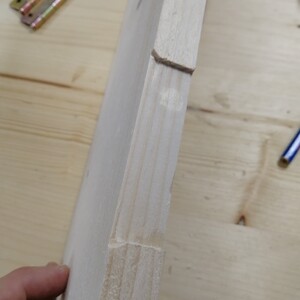
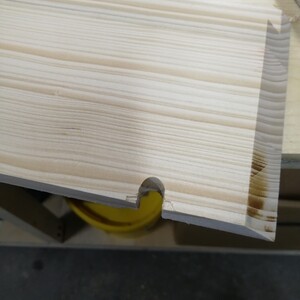
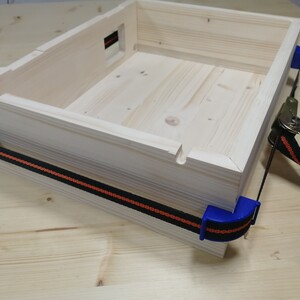
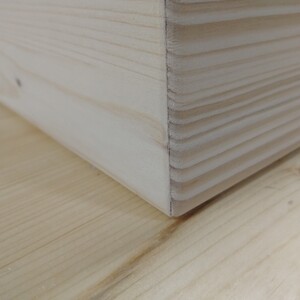
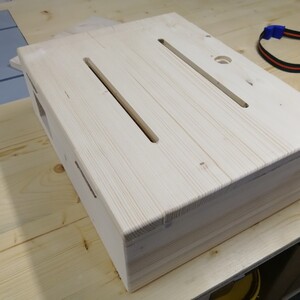
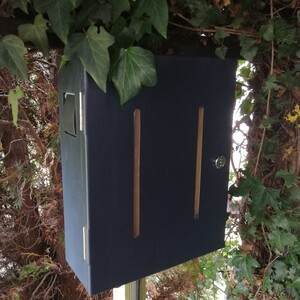
The outer box was built from pine. I used my table saw to cut rabbets in the side pieces for the back. The sides are joined using 45° angles. Pretty basic box design.
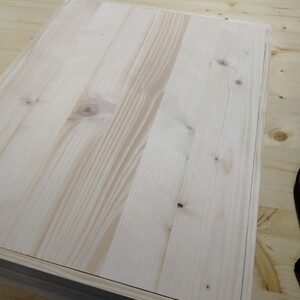
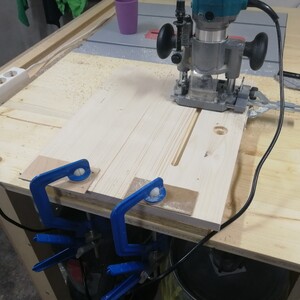
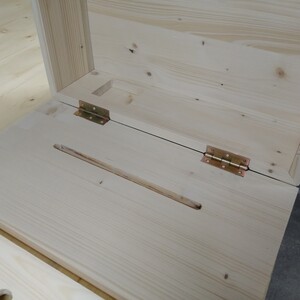
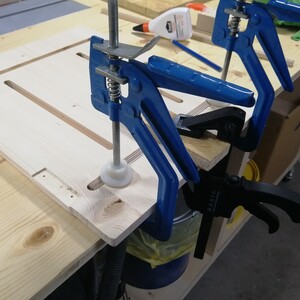
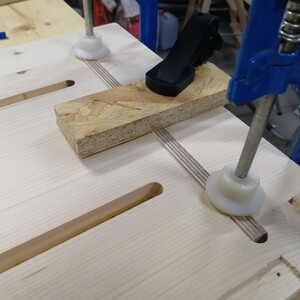
For the door I used the same pine, but found it a bit flimsy, so I cut rabbets with the router and reinforced it with strips of plywood.
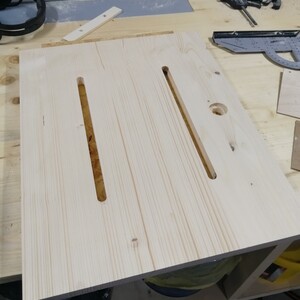
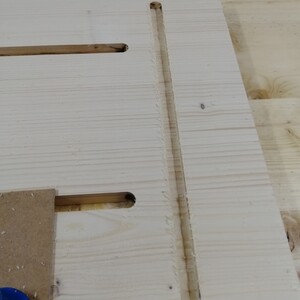
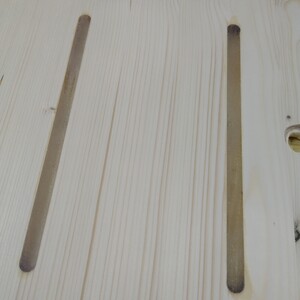
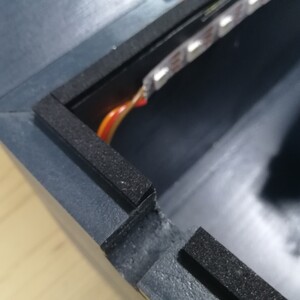
I also decided that I want the box to look cool using LEDs inside it, so I cut two vertical slits using the router. I then filled the slits with clear resin.
It was the first time I worked with resin. I was able to avoid air bubbles, but the surface isn't completely smooth and I wasn't able to properly sand it clear. But the milky translucency helps to diffuse the LED lights, so I guess it's fine.
To finish the box, the corners were rounded over and I cut holes for the switch and lock mechanism.
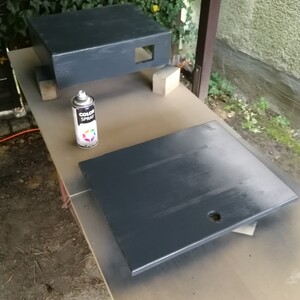
The most annoying part was painting. I used spray primer and paint but underestimated how little paint you get from a spray can. In the end I used one can of primer and two cans of paint - painting it by brush might have been more effective?
The annoying part however was the waiting in between. I just hate it when I have to interrupt my work to wait for the paint. I'm inpatient like that.
Electrics
Disclaimer: I'm no electrician. Do not take anything I say as advice.
We do not have electricity in the car port. So the in-feed comes from an extension cord from the house - I bought a construction site rated one to have it as robust as possible. Some day we will put proper wiring into the ground, but for now this should work - we're charging at 10 amps only3).
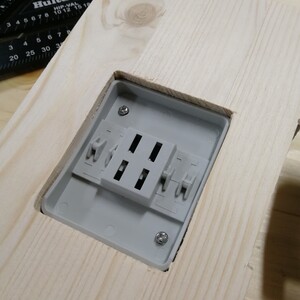
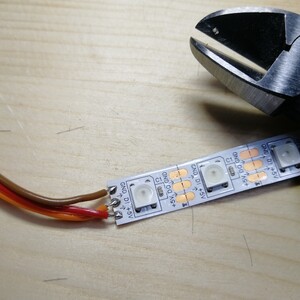
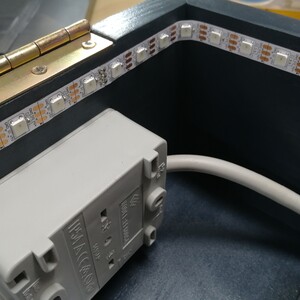
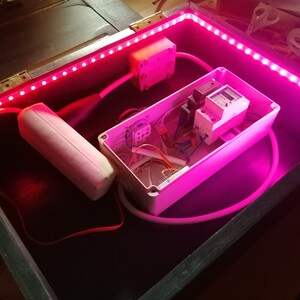
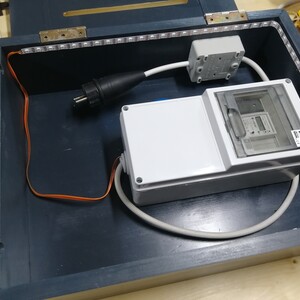
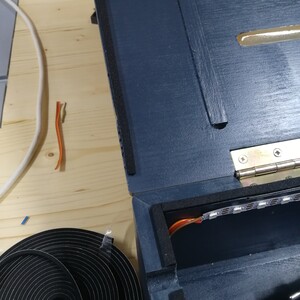
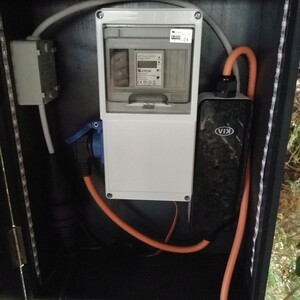
Inside my wooden box, a proper IP65 rated electrical box houses the socket, a WiFi cabable electricity meter, a DC power supply and a NodeMCU/ESP8266. The latter two are for the LED lighting using a WS2812B light strip.
The NodeMCU runs WLED. In its auto start macro, I set my desired lighting effect and the night light mode with a timeout of 2 minutes. This means when you flip the switch, the NodeMCU will power up, run a pretty light effect and then shut off the LEDs after two minutes. It really is just to look cool when you plugin the car.
However since both the SmartMeter and the LED controller are connected to my WiFi, I could later control the LEDs based on the actual current flowing…
Plug Holder
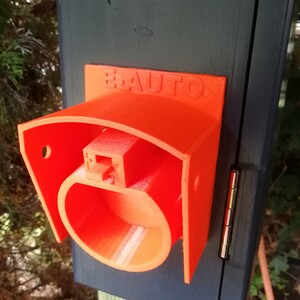
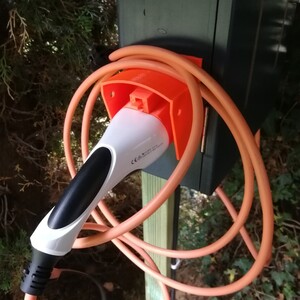
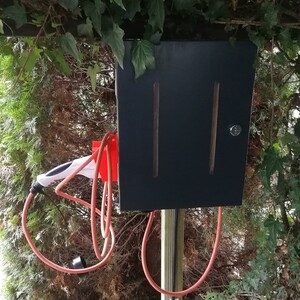
Of course such a project isn't complete without a bit of 3D printing. To hold the plug, I printed this cool model for a Type-2 charger socket by Frank B.
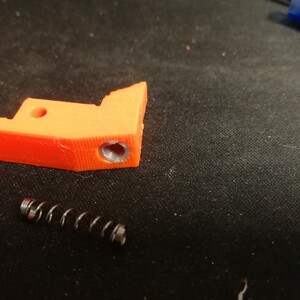
The models asks for a 20x5mm spring but Frank suggests that a ball point pen's spring might work, too. I found it was a bit too thin for the hole so I printed a little sleeve to adjust the diameter.
I printed the whole thing in orange PETG for contrast to the dark gray box. Works great and holds the plug securely.
Assembly
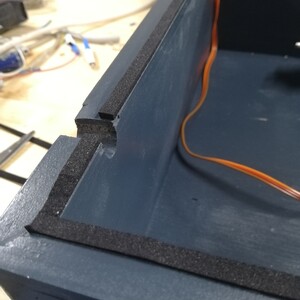
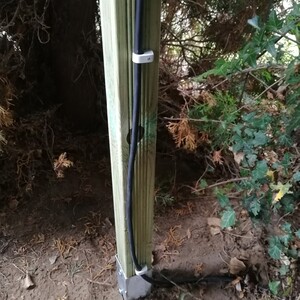
The box was mounted on a pole in the car port. The ICCB sits snugly inside but can easily be removed when travelling. The cables have slits at the bottom of the door.
For better weather proofing I used adhesive foam tape.
